This post contains helpful tips and tricks! If you’re in a rush, please use the “Jump to Recipe” above!
💭 Why you’ll love this summer tortellini salad
Less than 10 ingredients, less than 20 minutes to make it. Can you ask for a simpler side than this that everyone will love? This salad and my summer slaw are staples at home during summer! Super versatile and customizable. Consider this a base version. You can swap ingredients or add more so you can make this your own. Plus, the vibrant color makes it a great side dish you want to eat all day! Great make ahead dish for meal prep. You can make a big batch of this salad, and store the salad separate from the vinaigrette. When you’re ready, just toss, add some parmesan and serve!
📋 Ingredients and substitutions
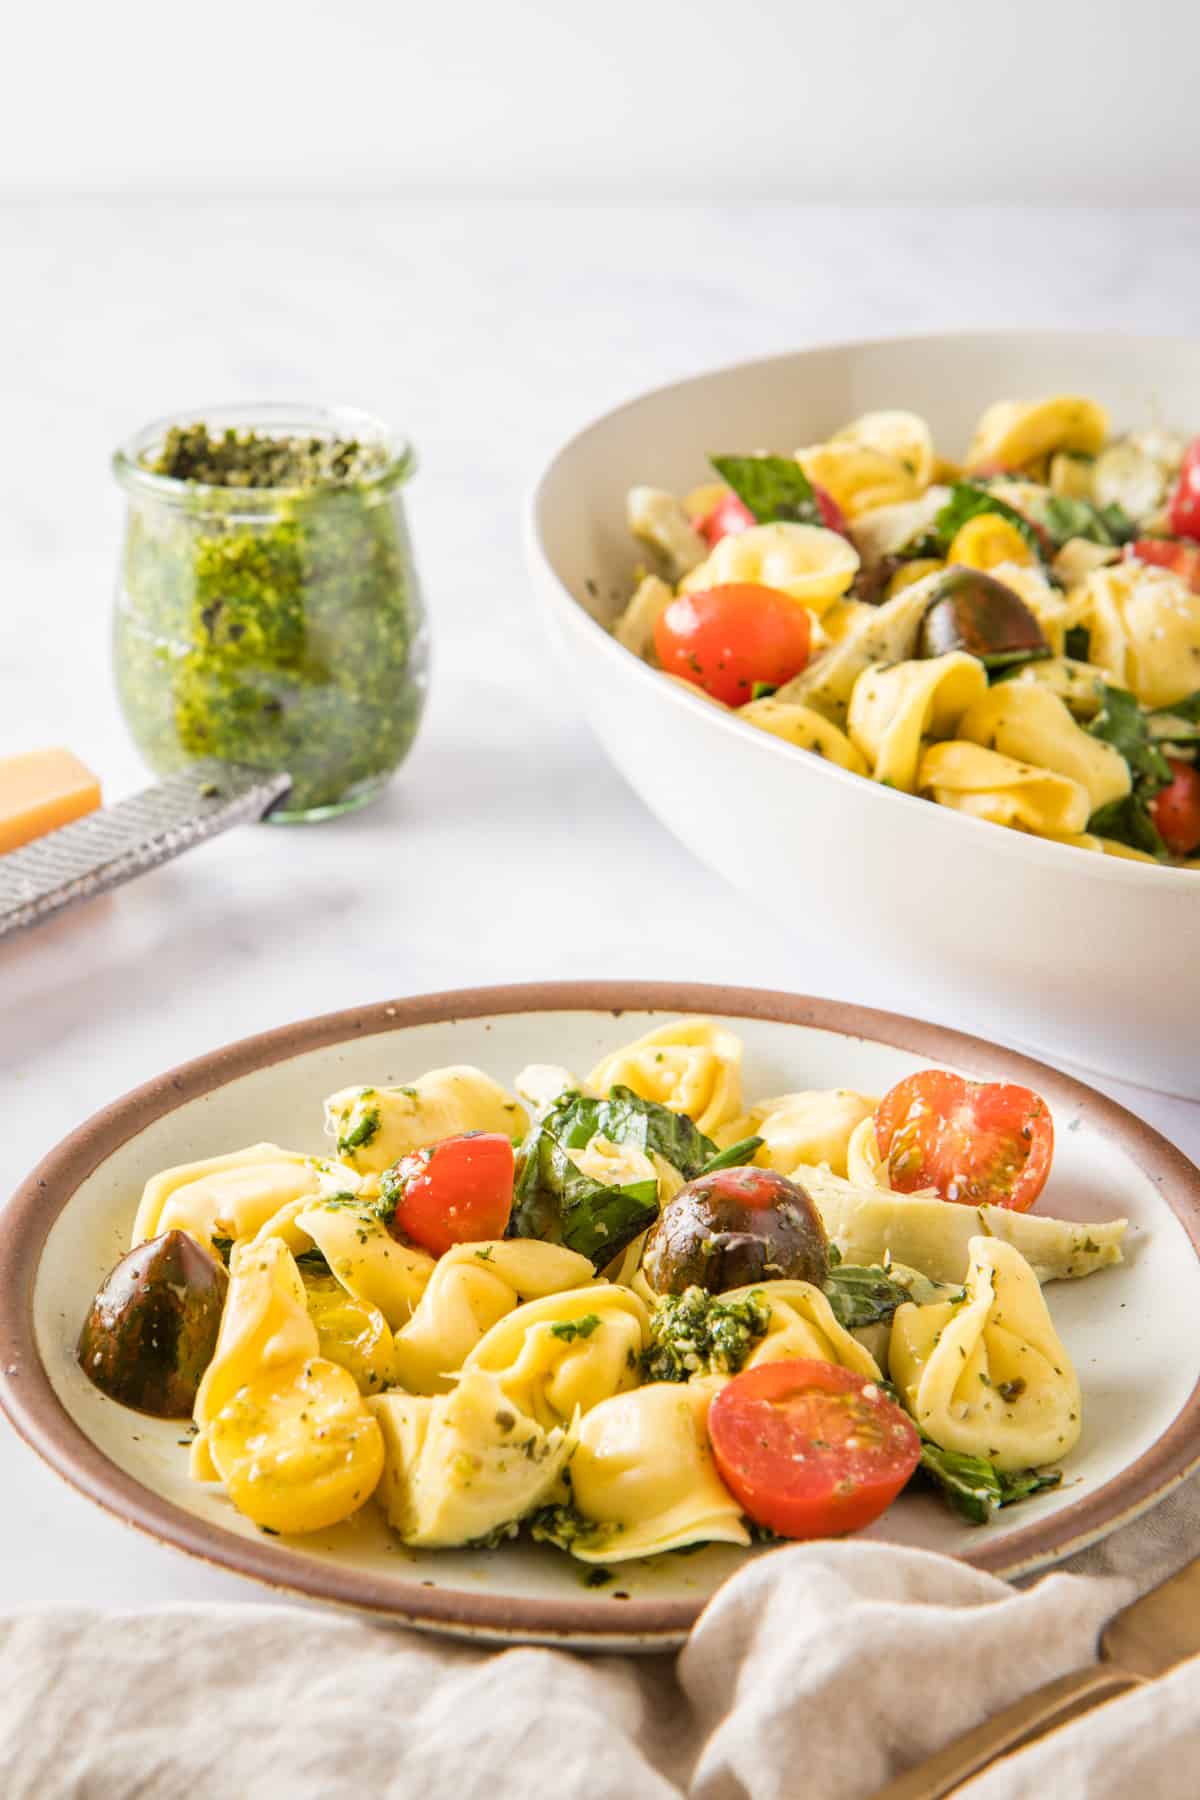
To make this easy pesto tortellini salad, you’ll need tortellini, cherry tomatoes, basil, artichokes, Parmesan and a simple pesto vinaigrette. But this salad is super versatile so you can swap these ingredients, or add others you’re craving without losing any flavor.
Ingredient Notes
Tortellini: You can use either fresh or frozen tortellini. I prefer frozen cheese tortellini, but you can use mushroom or spinach filled ones, vegan or gluten-free tortellini as well. No tortellini? No problem. Use any pasta with ridges (e.g., farfalle, rotini, fusilli, etc.) Cherry tomatoes: During the summer, I love using cherry tomato in all my salads (like this spinach and avocado salad). This greats taste with even sun-dried tomatoes (and more Tuscan) or you can turn this into a Caprese pasta salad, except with cheesy tortellini, of course. Homemade vs. store bought pesto: This recipe uses homemade basil pesto (it’s ready while your tortellini is cooking). However, any pesto works! I’ve made this salad with my kale pesto (vegan and nut-free), broccoli pesto, arugula pesto, and even pea shoot pesto. Tastes delicious with all of them. Choice of vinegar: Lemon juice keeps it fresh, but if you want to go the Italian tortellini salad route, you can totally swap lemon juice with balsamic vinegar or red wine vinegar. Other seasoning: I keep this relatively simple, but you can add red pepper flakes, garlic, or other seasoning of your choice to liven up the pasta salad.
📖 How to make pesto tortellini salad
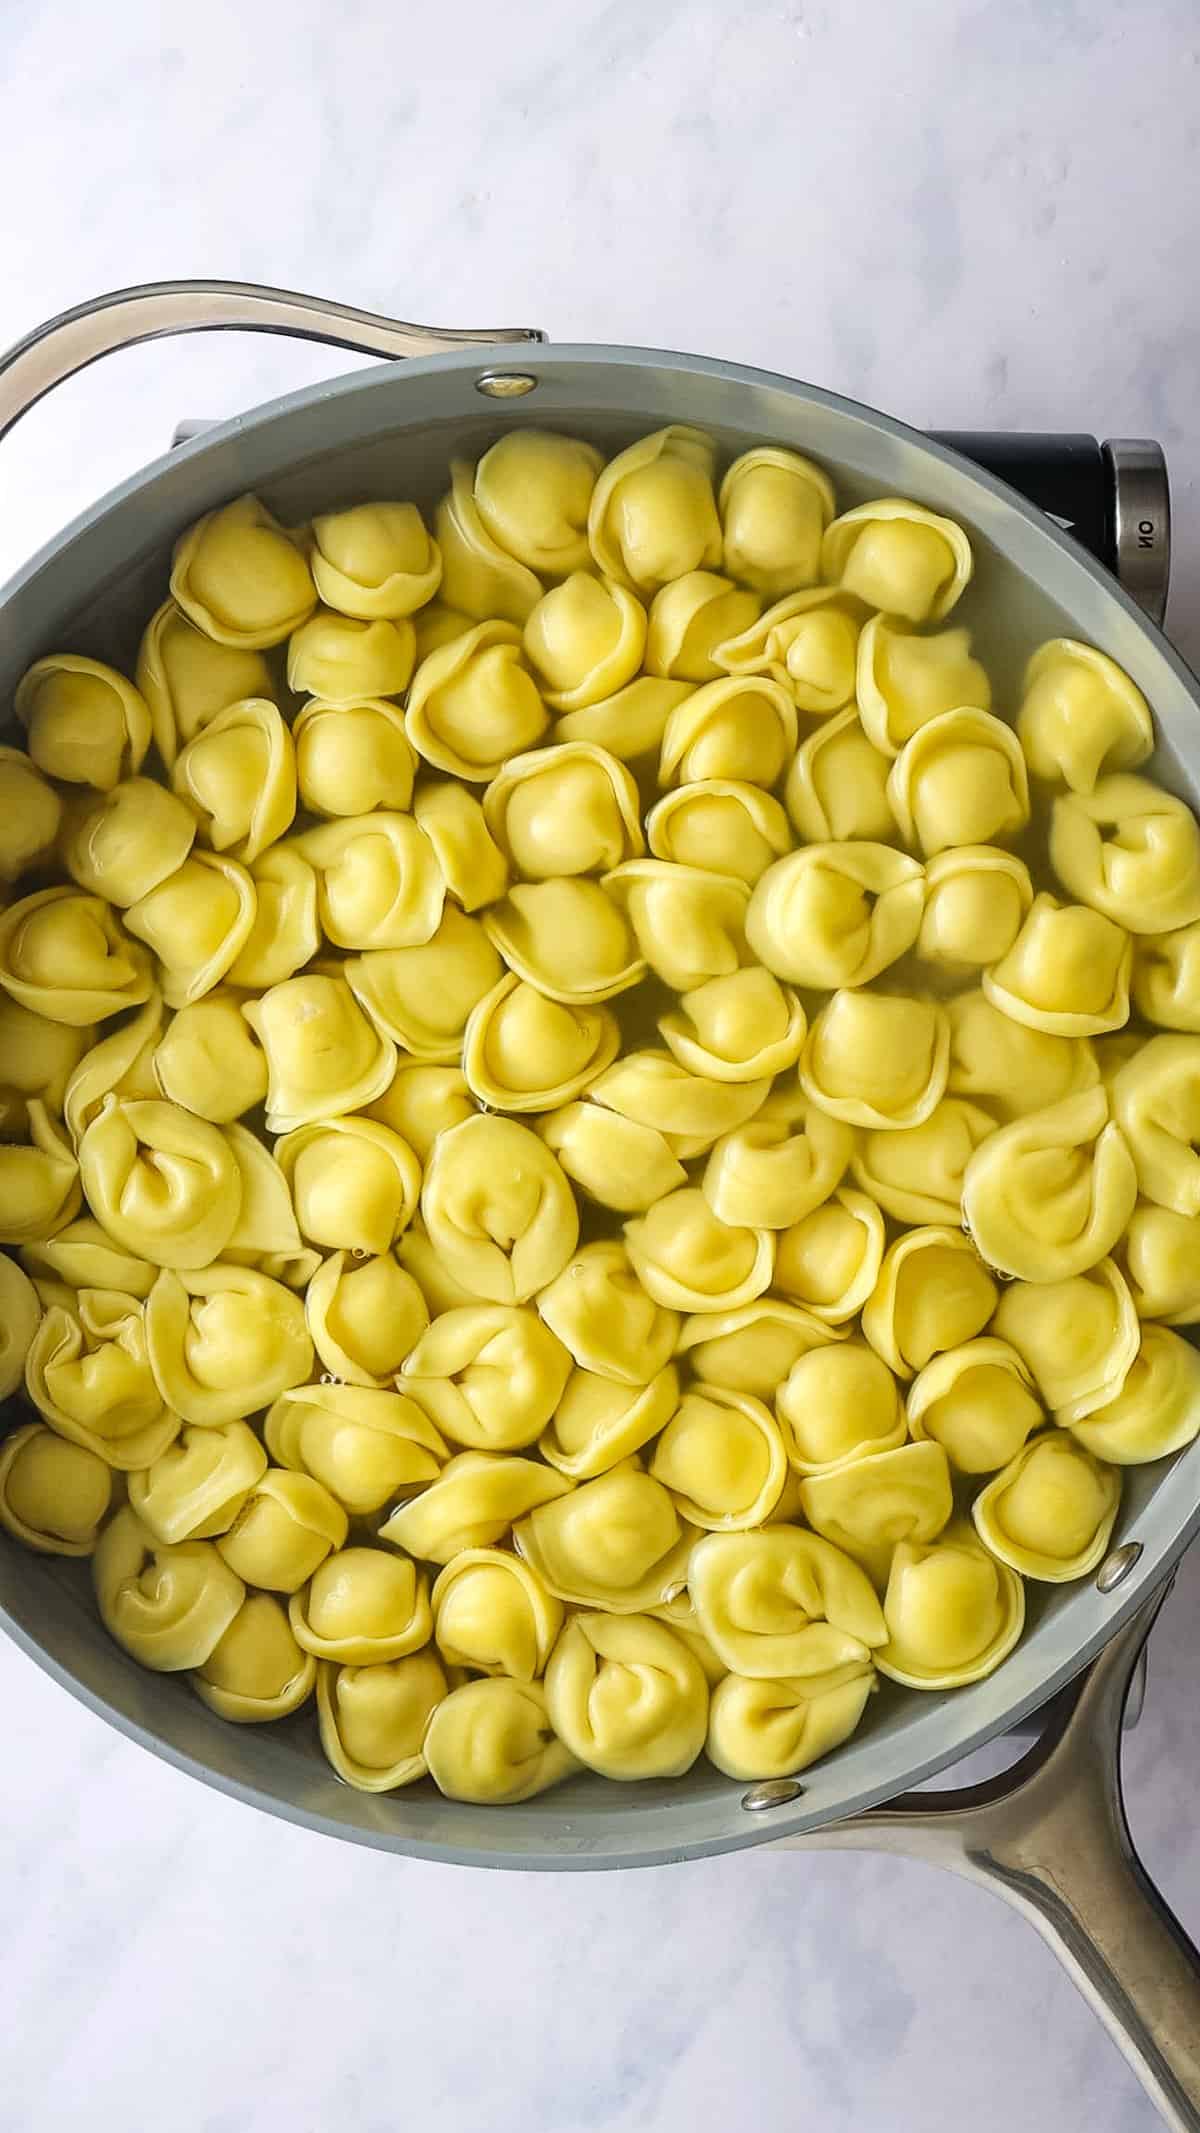
Cook your tortellini al dente
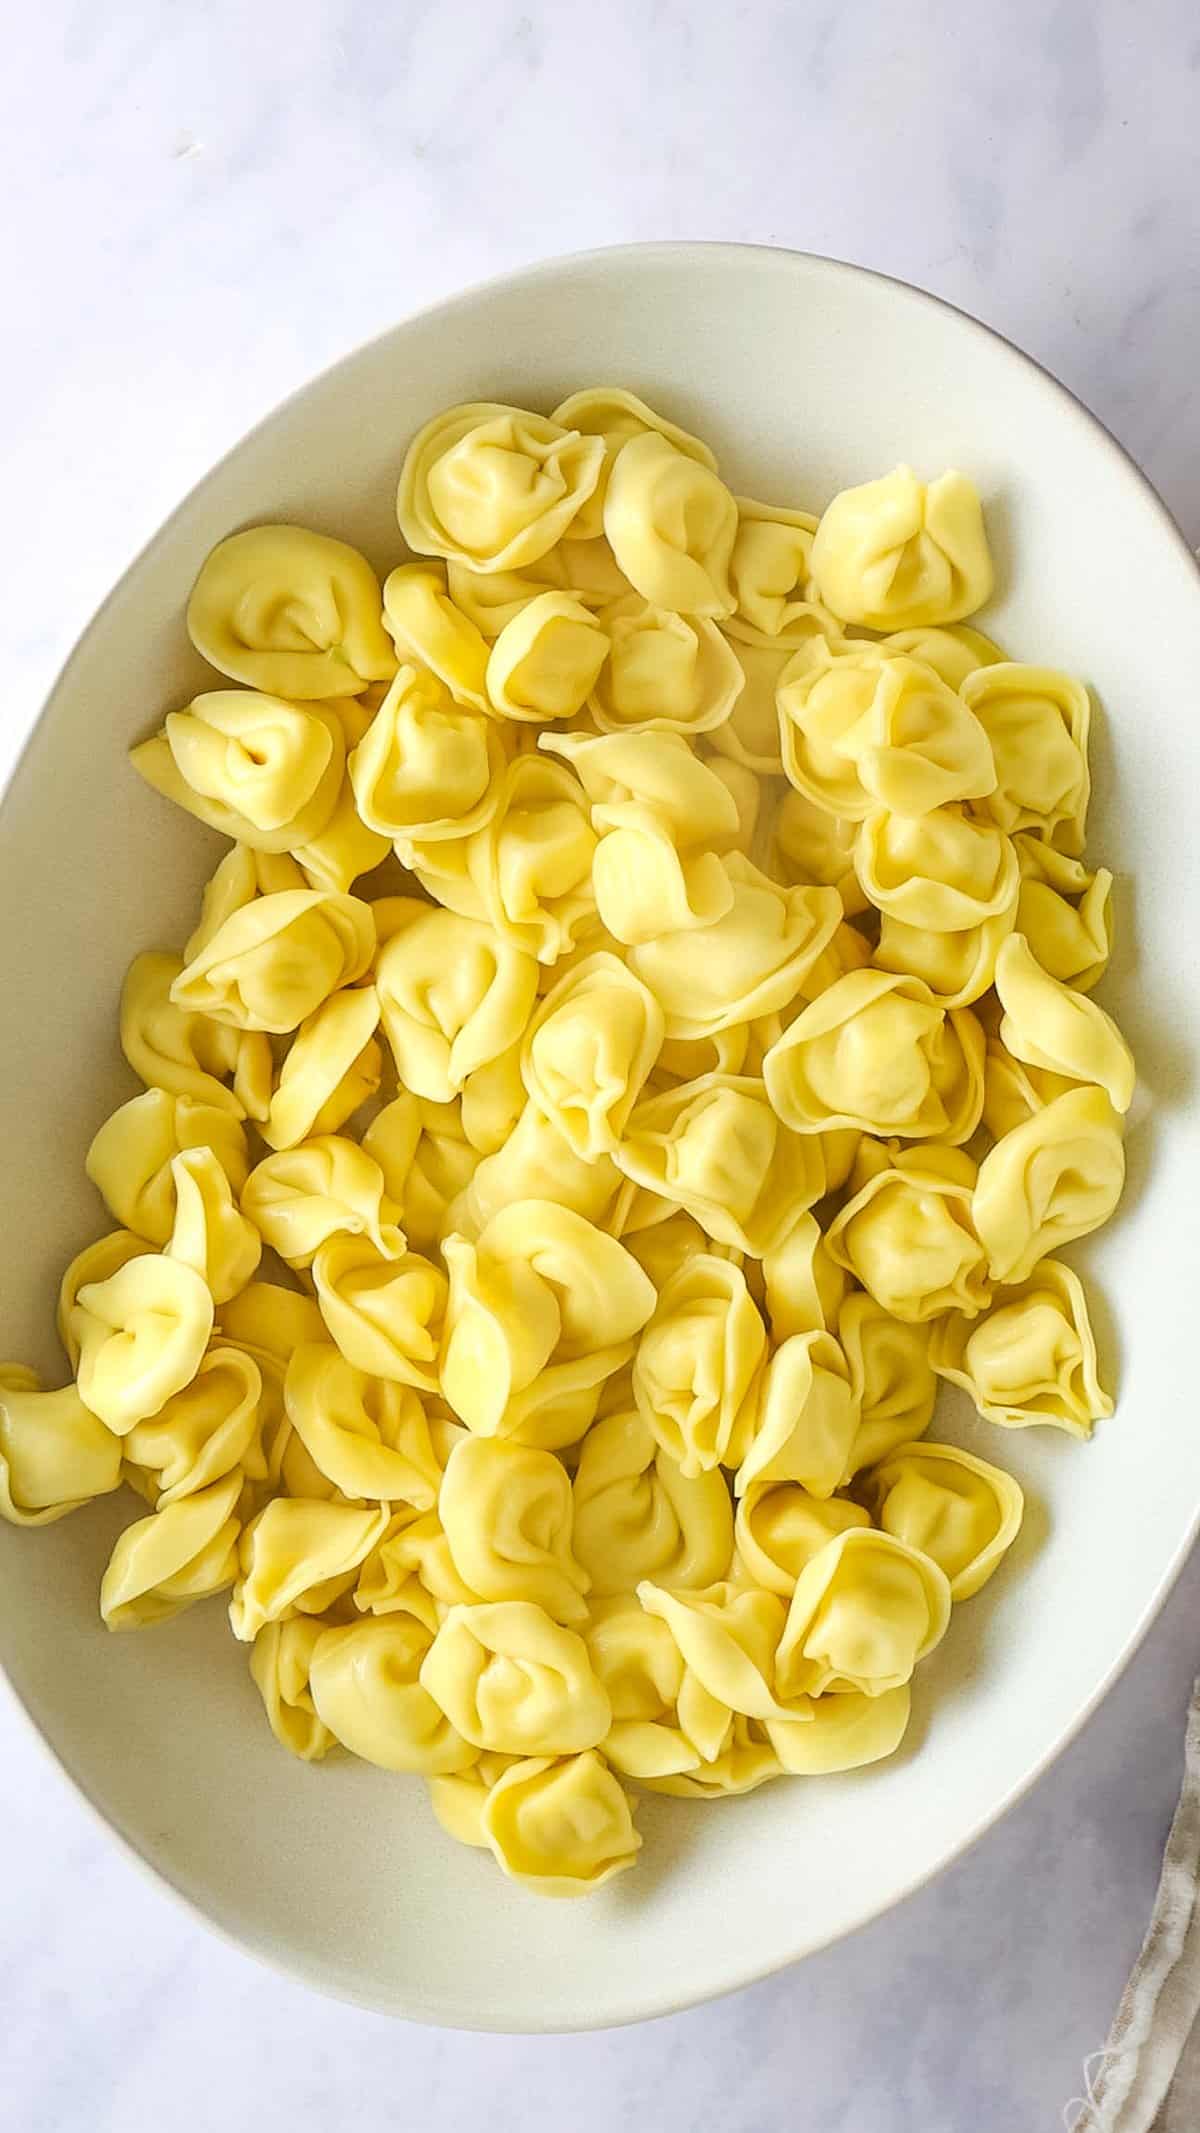
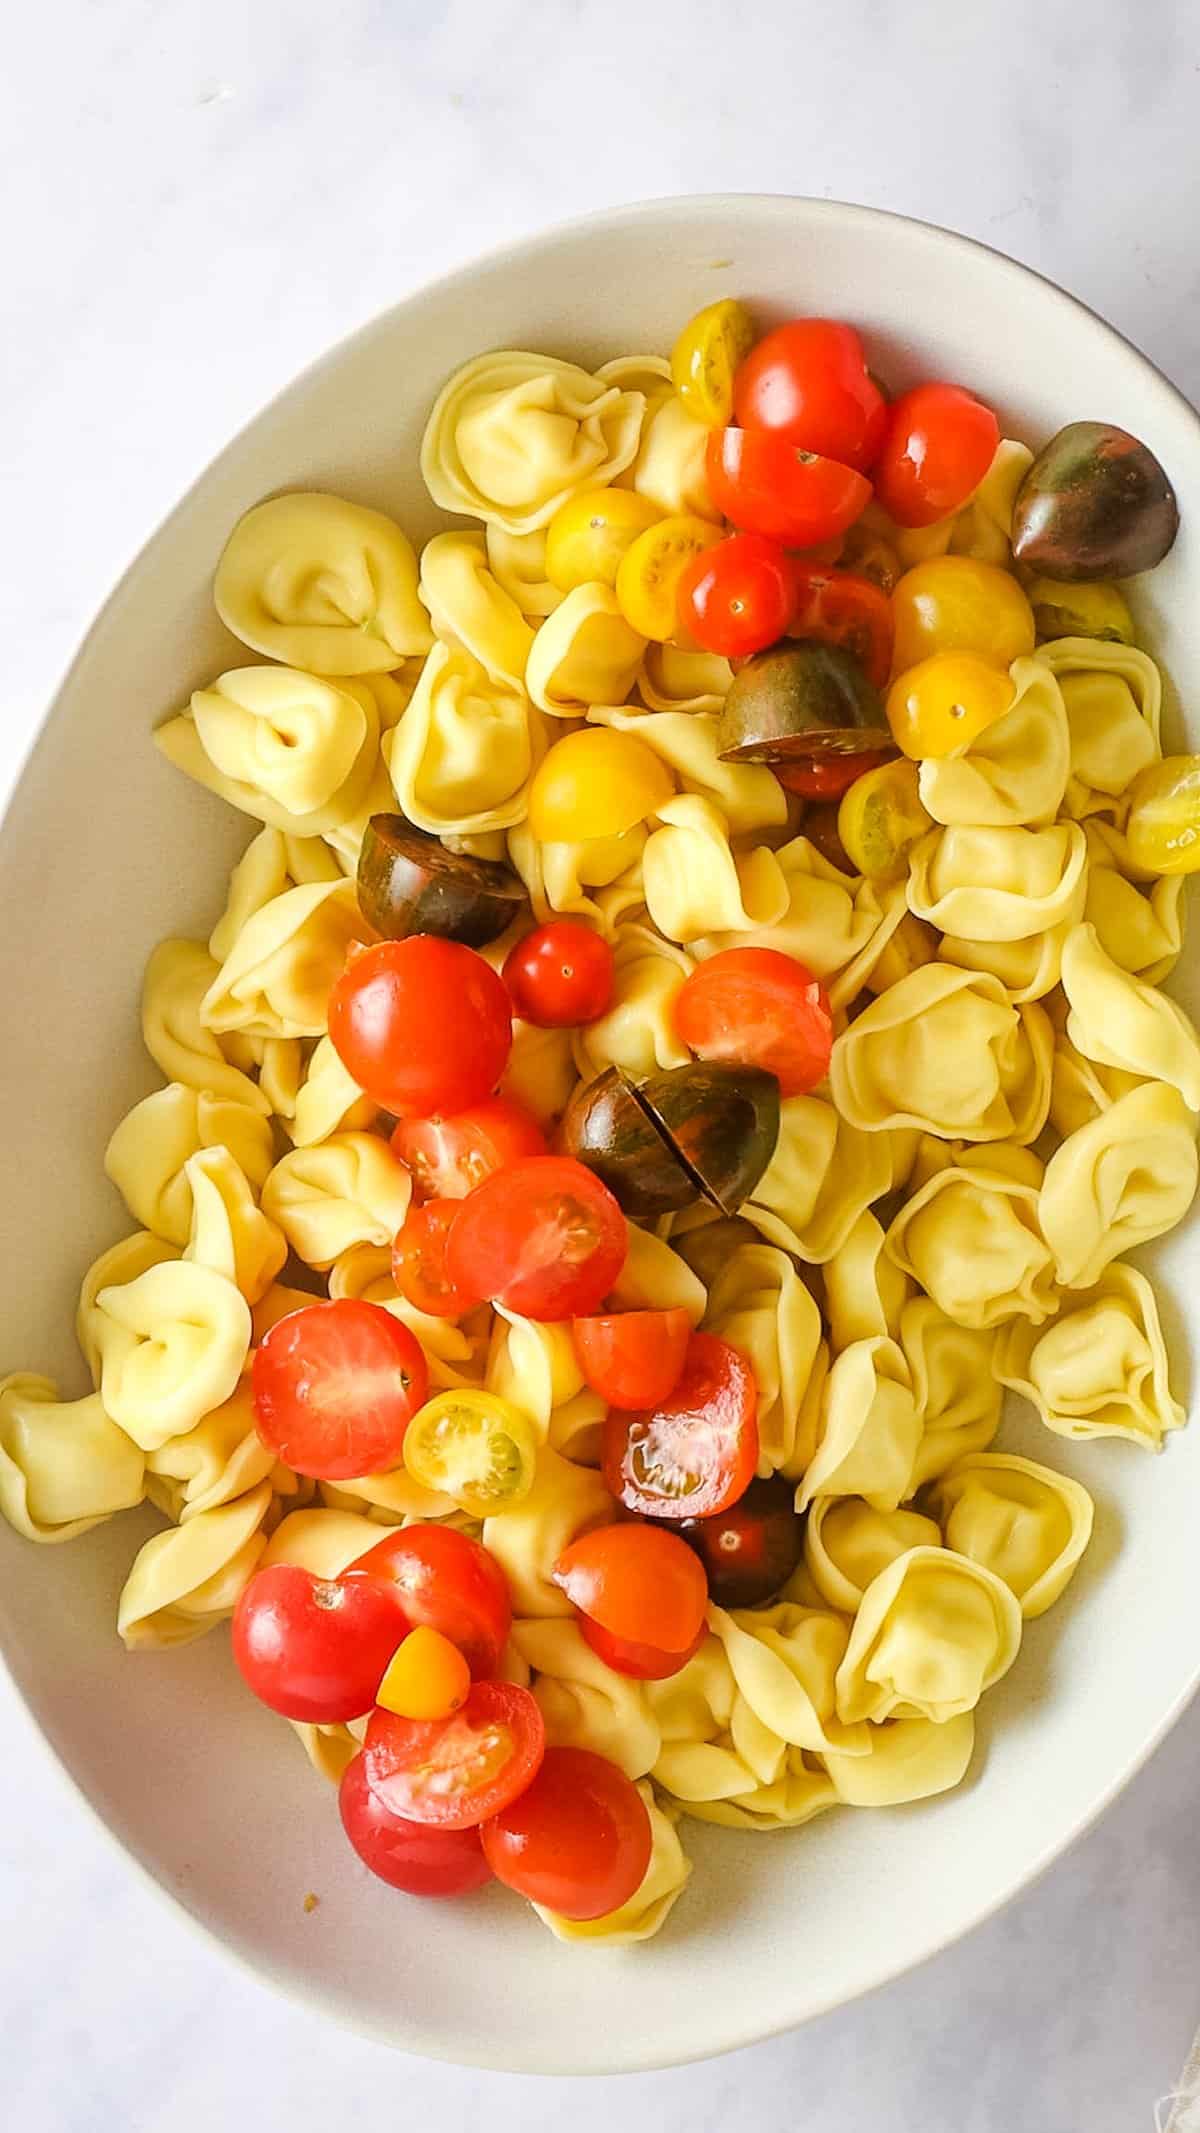
Start by cooking your tortellini in salted water in a large pot until al dente (this is lesser than time according to package directions). Cooking tortellini al dente means cooking it until it is firm to the bite but cooked through. It should not be mushy or soft, but also not be hard or crunchy. Set aside in a large bowl.
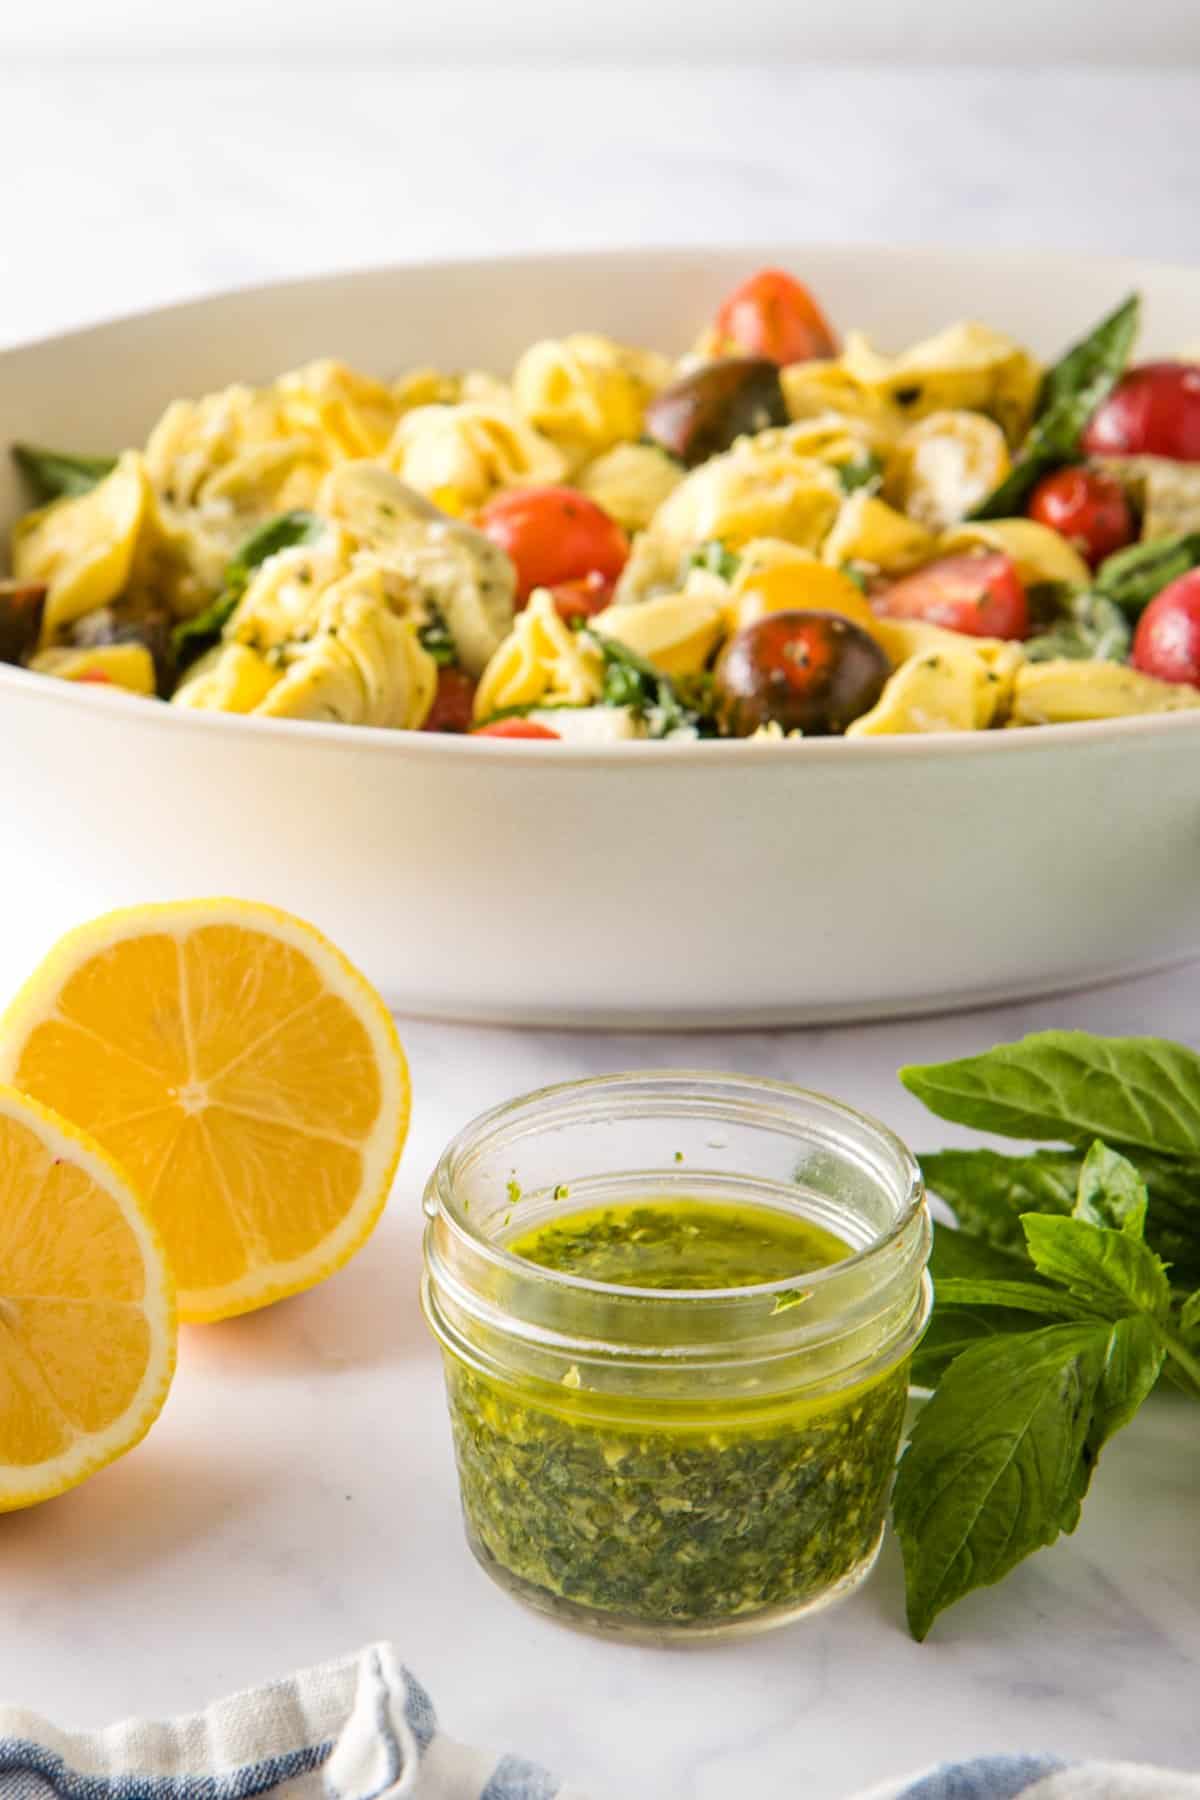
Make pesto salad dressing
Make your pesto vinaigrette by adding basil pesto into a mason jar along with olive oil, lemon juice, and black pepper. Shake until combined, or whisk with a fork for a dressing-like consistency. I love using this jar for all salad dressings!
Prepare pasta salad ingredients
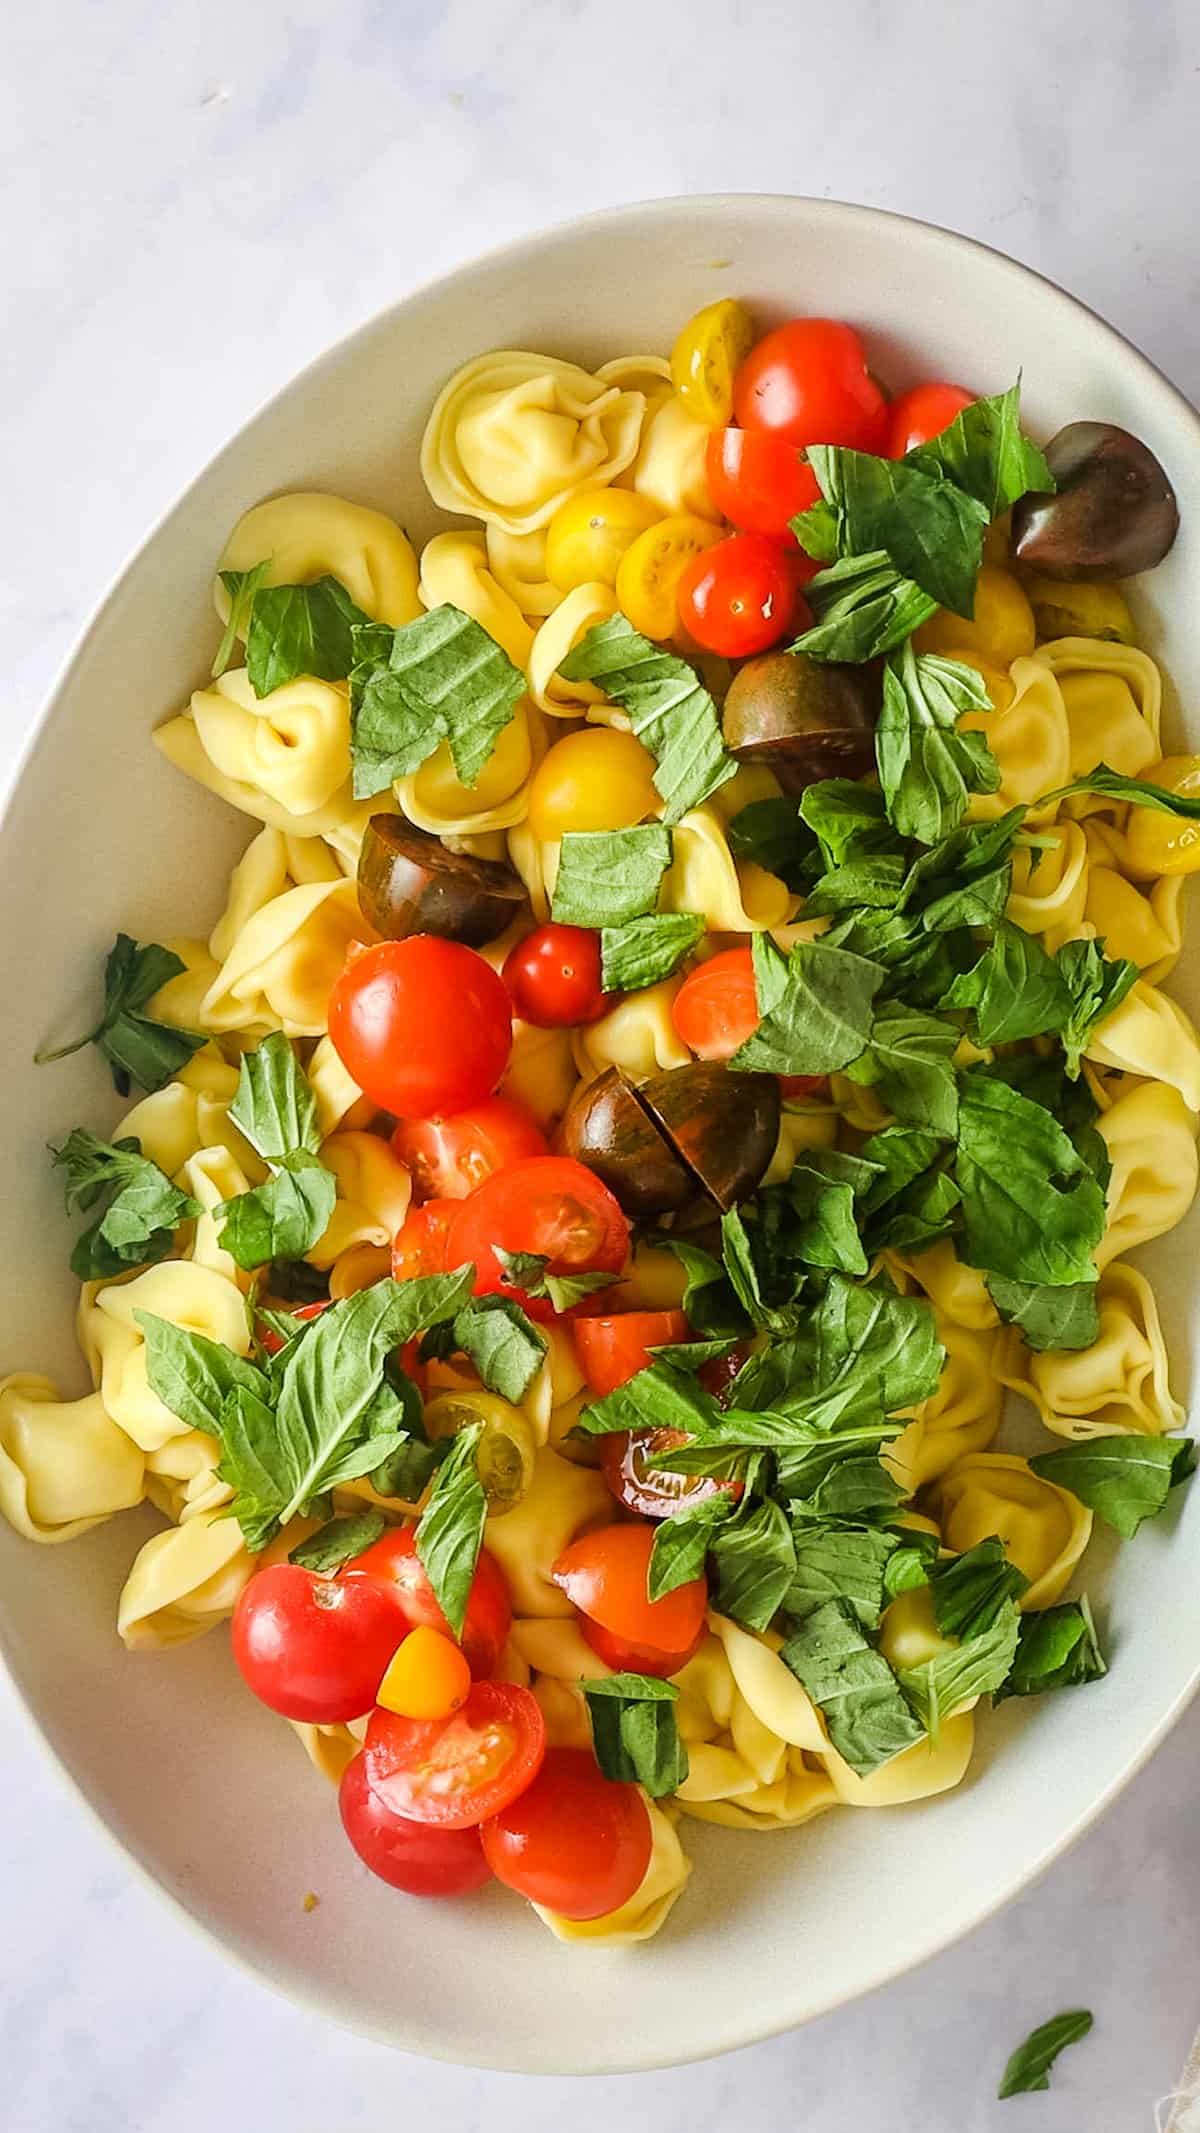
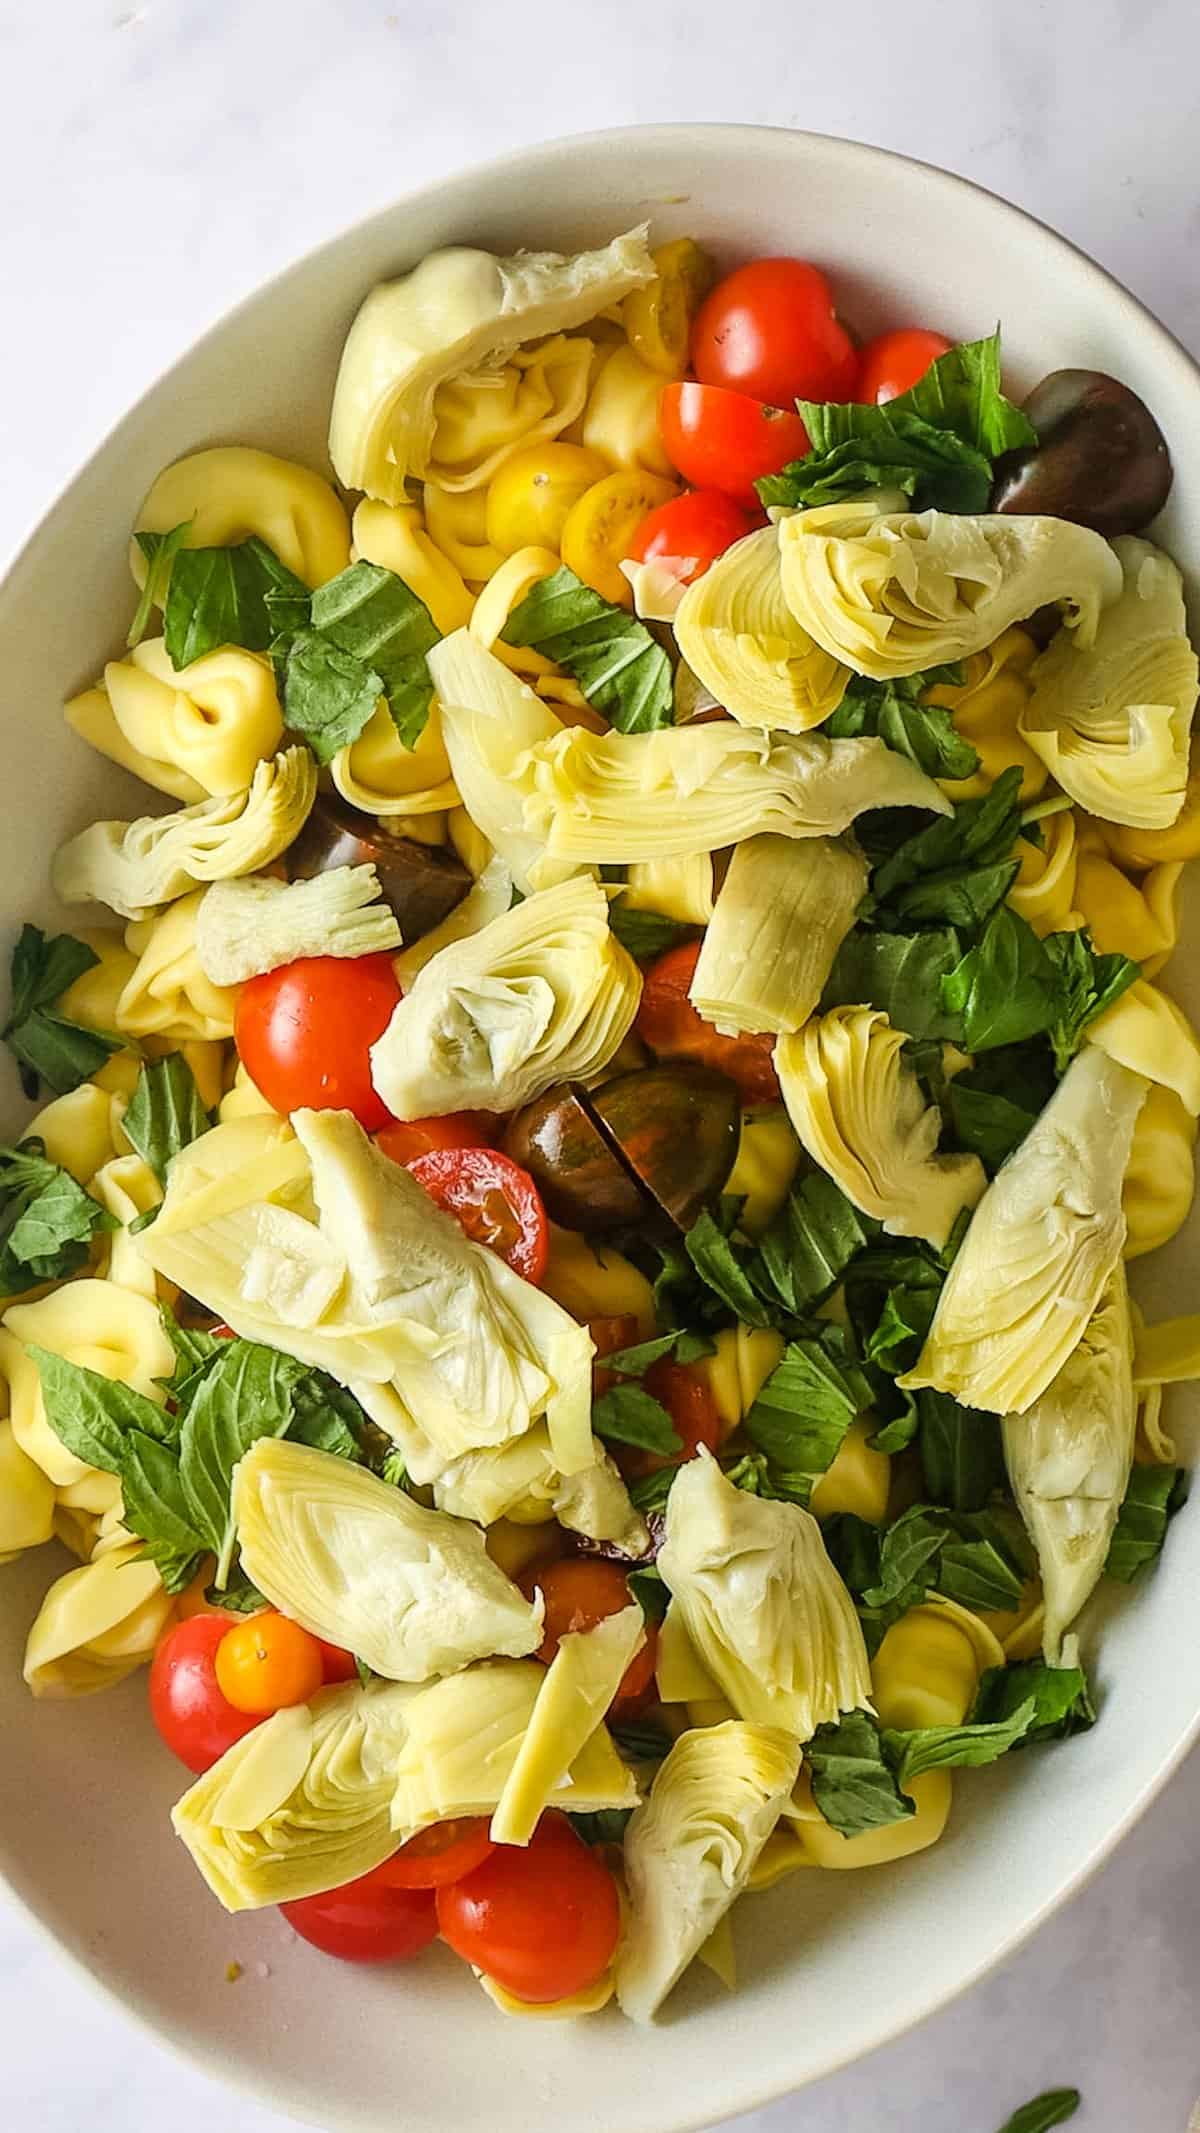
Chiffonade your basil (i.e. roll it into a little bunch and chop super finely) - this adds such a burst of flavor, it’s irresistible! Slice your cherry tomatoes into halves. You can easily do this by placing them on a plate, placing another plate on top, and slicing horizontally across using a sharp knife. Next, drain and rinse a can of artichoke hearts and set aside.
Assemble pasta salad
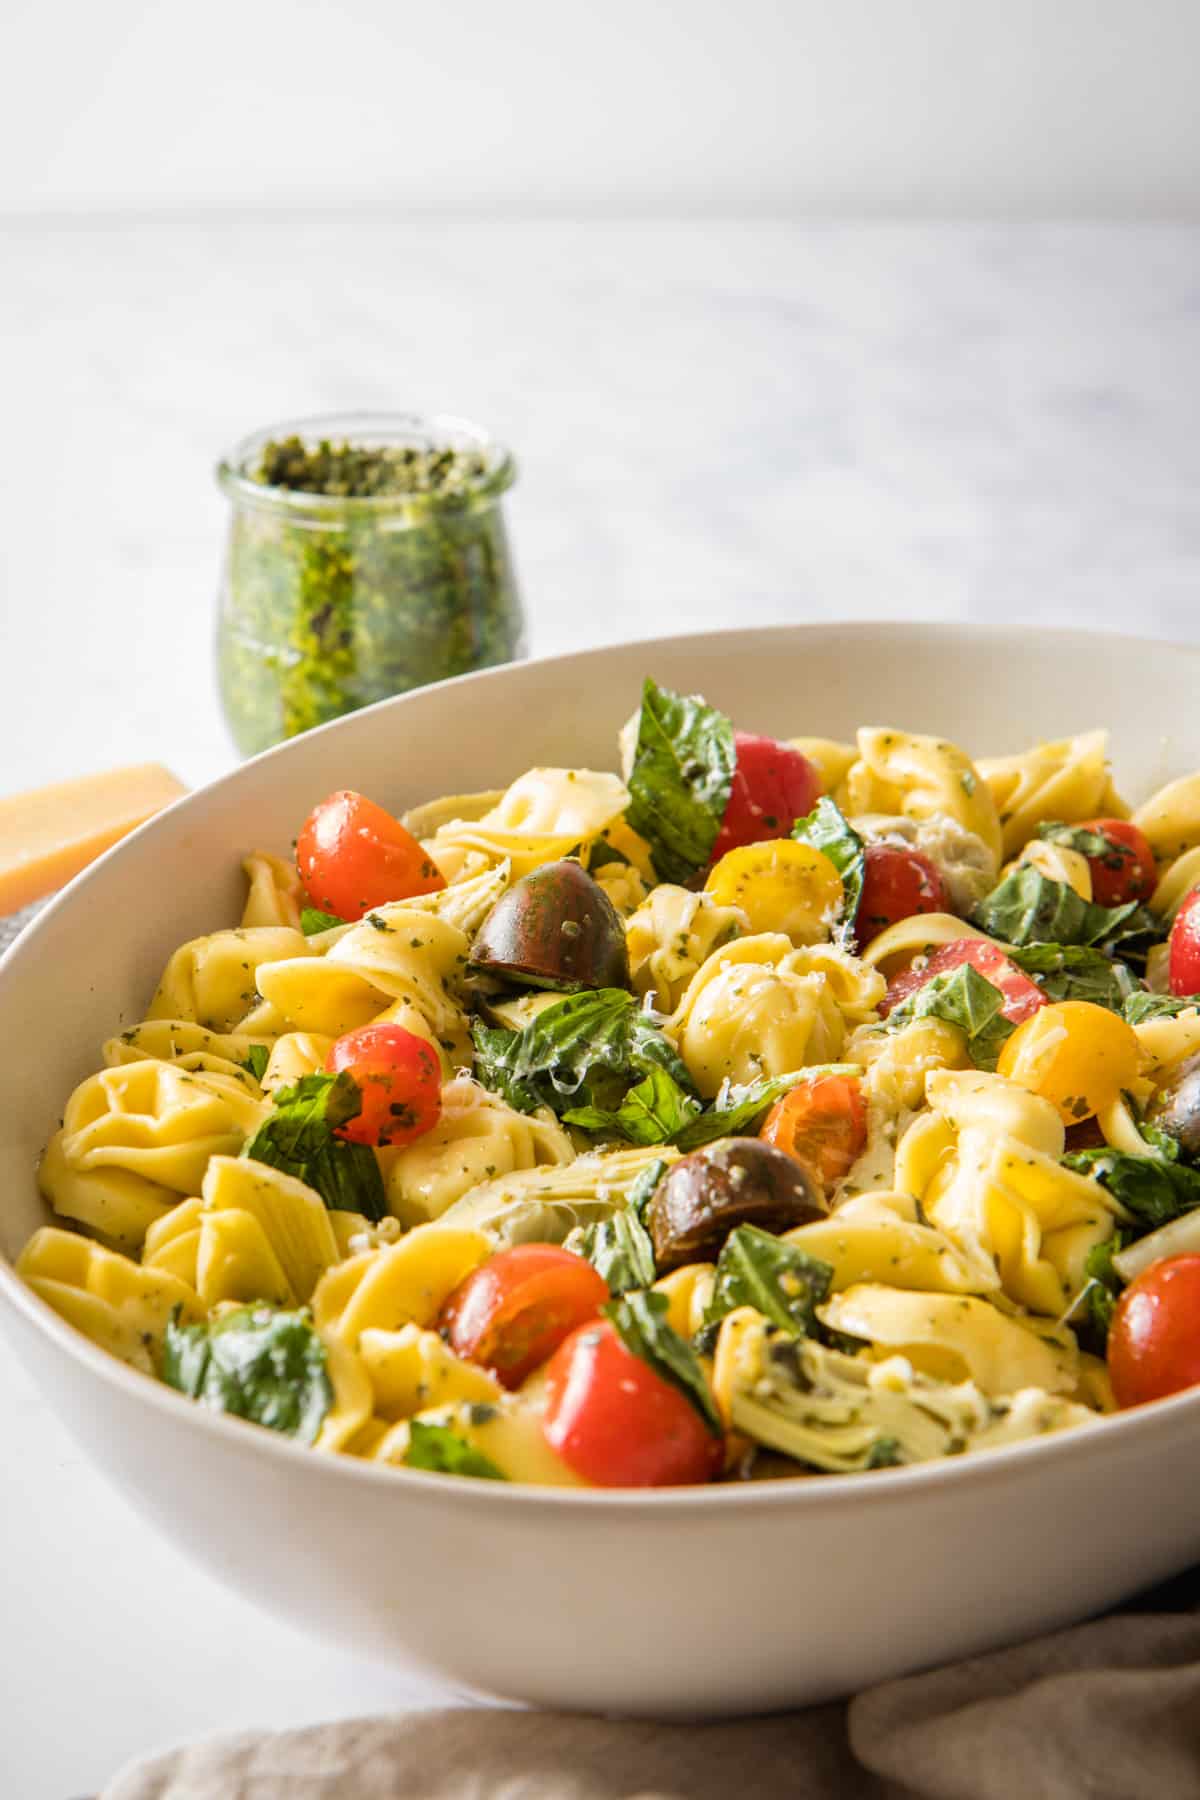
Assemble the salad. In a large bowl, add cooked tortellini, cherry tomatoes, fresh basil, and artichoke hearts. If you’re not planning to serve immediately, refrigerate until ready to serve.
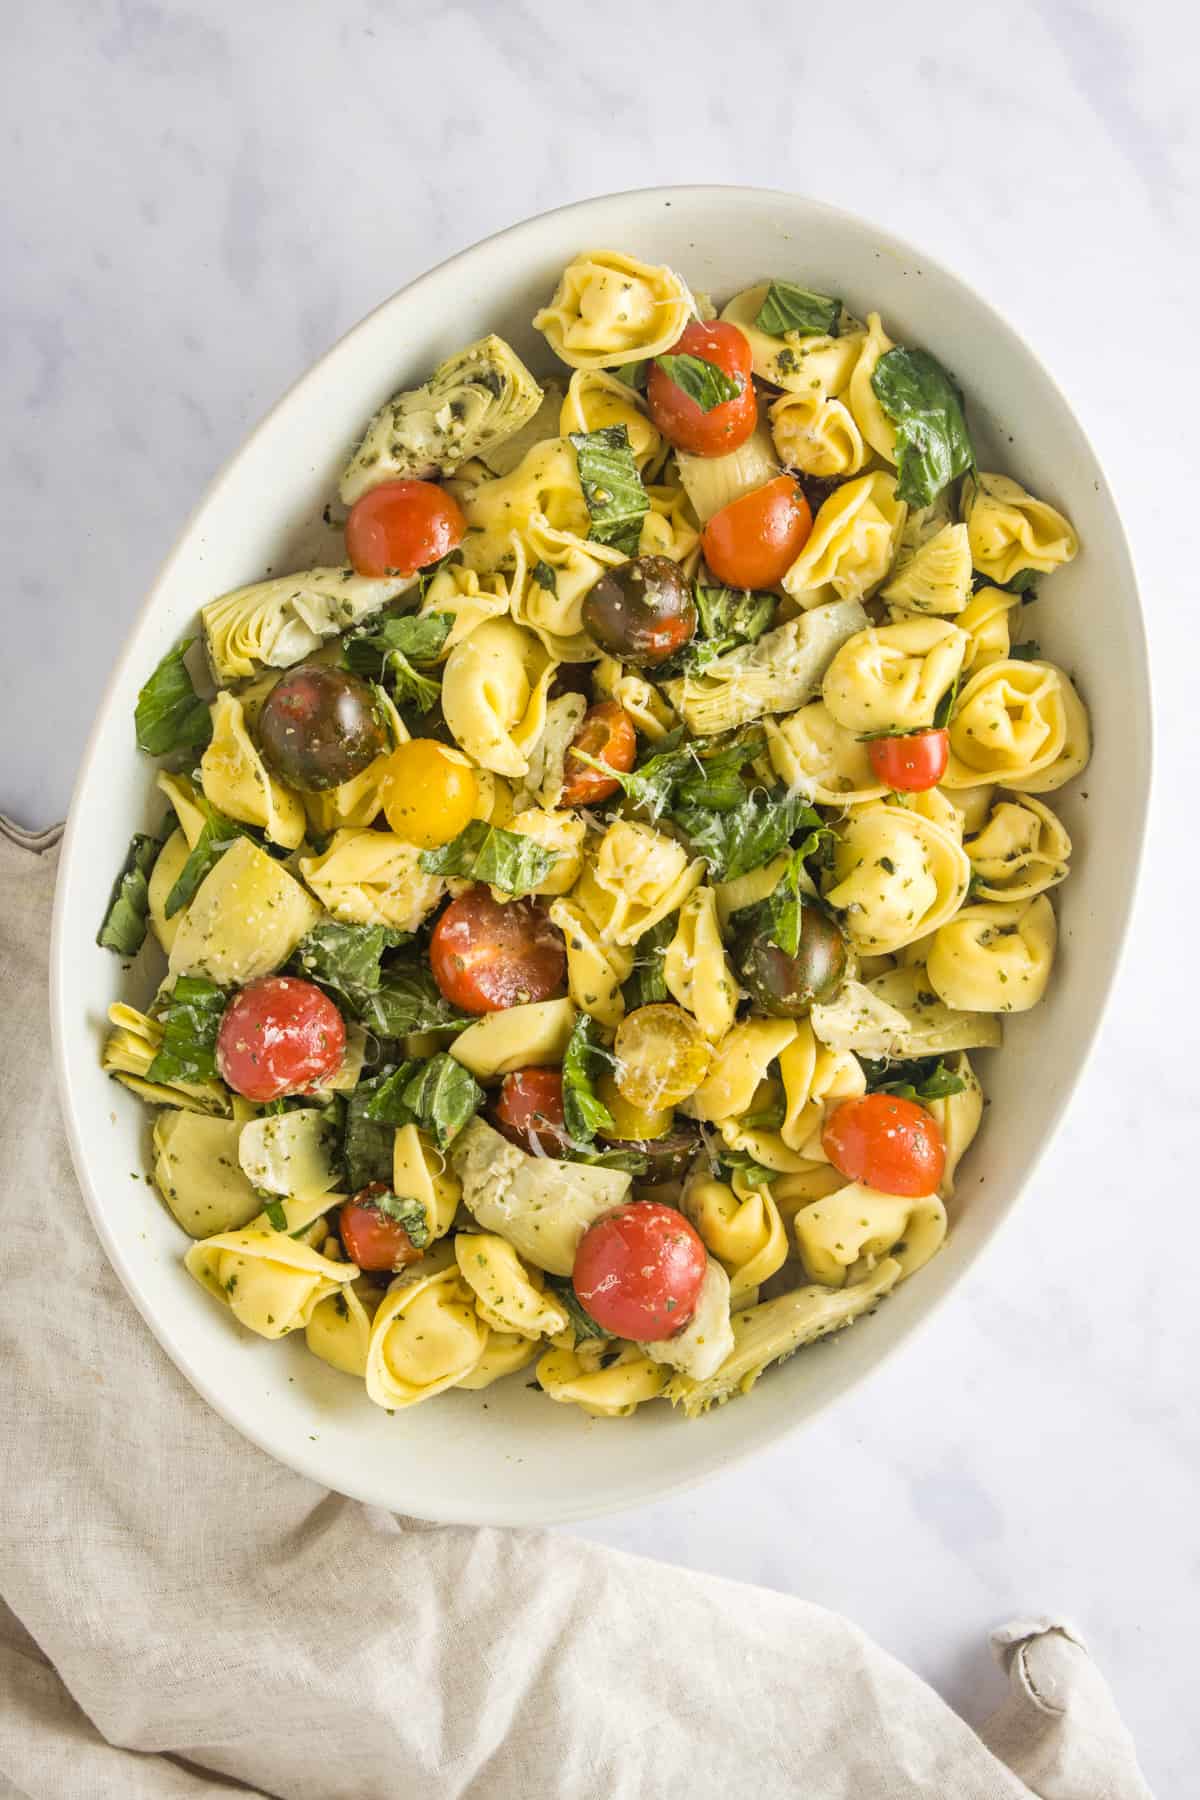
When you’re ready to serve, drizzle with pesto vinaigrette evenly and toss to combine. Add salt and pepper and adjust to taste, as necessary. Top with fresh or dry basil, freshly grated Parmesan cheese, and more vinaigrette and enjoy this cheesy, but refreshing pesto tortellini pasta salad!
Variations
Creamy Pesto Salad Dressing: You can also make a creamy pesto salad dressing instead. Make it an Italian Pasta Salad: Add bell peppers (red bell pepper or green peppers, sliced thinly), and fresh mozzarella balls. Swap cherry tomatoes for grape tomatoes or sun dried tomatoes, and add toasted pine nuts. Garnish with red pepper flakes, and homemade Italian dressing. Greek Pasta Salad: I love adding black olives or pitted kalamata olives, red onion, and feta cheese. Healthier Version: Add fresh veggies (e.g., red peppers), fresh herbs (e.g., parsley) along with a simple homemade dressing without pesto.
👩🏽🍳 Top Tips
🍴 What to serve with pesto tortellini salad
I love to serve this salad with everything. Have a big BBQ? Serve it with meat. Planning to have burgers? Make this a healthier side instead of fries. Need a quick lunch? Portion and pack it up!
Add dressing right before you serve
Though we’re using pesto, it will still make the basil get soggy due to the absorption of the liquid. To preserve the freshness of the salad, I suggest adding the pesto vinaigrette right before serving. Add the vinaigrette, give it a good mix, grate fresh Parmesan on top, and you’re good to go!
Serve chilled if possible
This salad is best served chilled. So, I suggest prepping the ingredients, and chilling them in the fridge for about 30 minutes. Then, when you’re ready, add basil and dressing, toss, and serve. Delicious!
🍴 Serving and storage suggestions
If you made extra, cover your salad bowl with plastic wrap, or put it in an airtight container. You can store this in the fridge for 2 to 3 days, but I suggest trying to eat it the next day if possible! If you want to make this salad ahead of time, mix ingredients and chill that separately (without vinaigrette). Then when you’re ready to serve, make the pesto vinaigrette fresh, drizzle it on top, grate some parmesan, and serve! I don’t recommend freezing this salad, primarily because of the tomatoes (which tend to get really mushy).
🥗 More summer salad recipes
If you like this recipe, check out my other refreshing summer salads:
Spinach and avocado salad Summer slaw (no-mayo coleslaw with peanut dressing) Mango avocado salad Caprese salad with heirloom tomatoes Roasted beet salad with goat cheese
And many, many more vegetarian and vegan salad recipes.
If you tried this recipe, don’t forget to comment and rate! ⭐⭐⭐⭐⭐
📖 Recipe
Note: This recipe was originally published on July 21, 2020. It was updated on May 8, 2022 to include new pictures, and step-by-step instructions.