📖 Make the best Danish butter cookies!
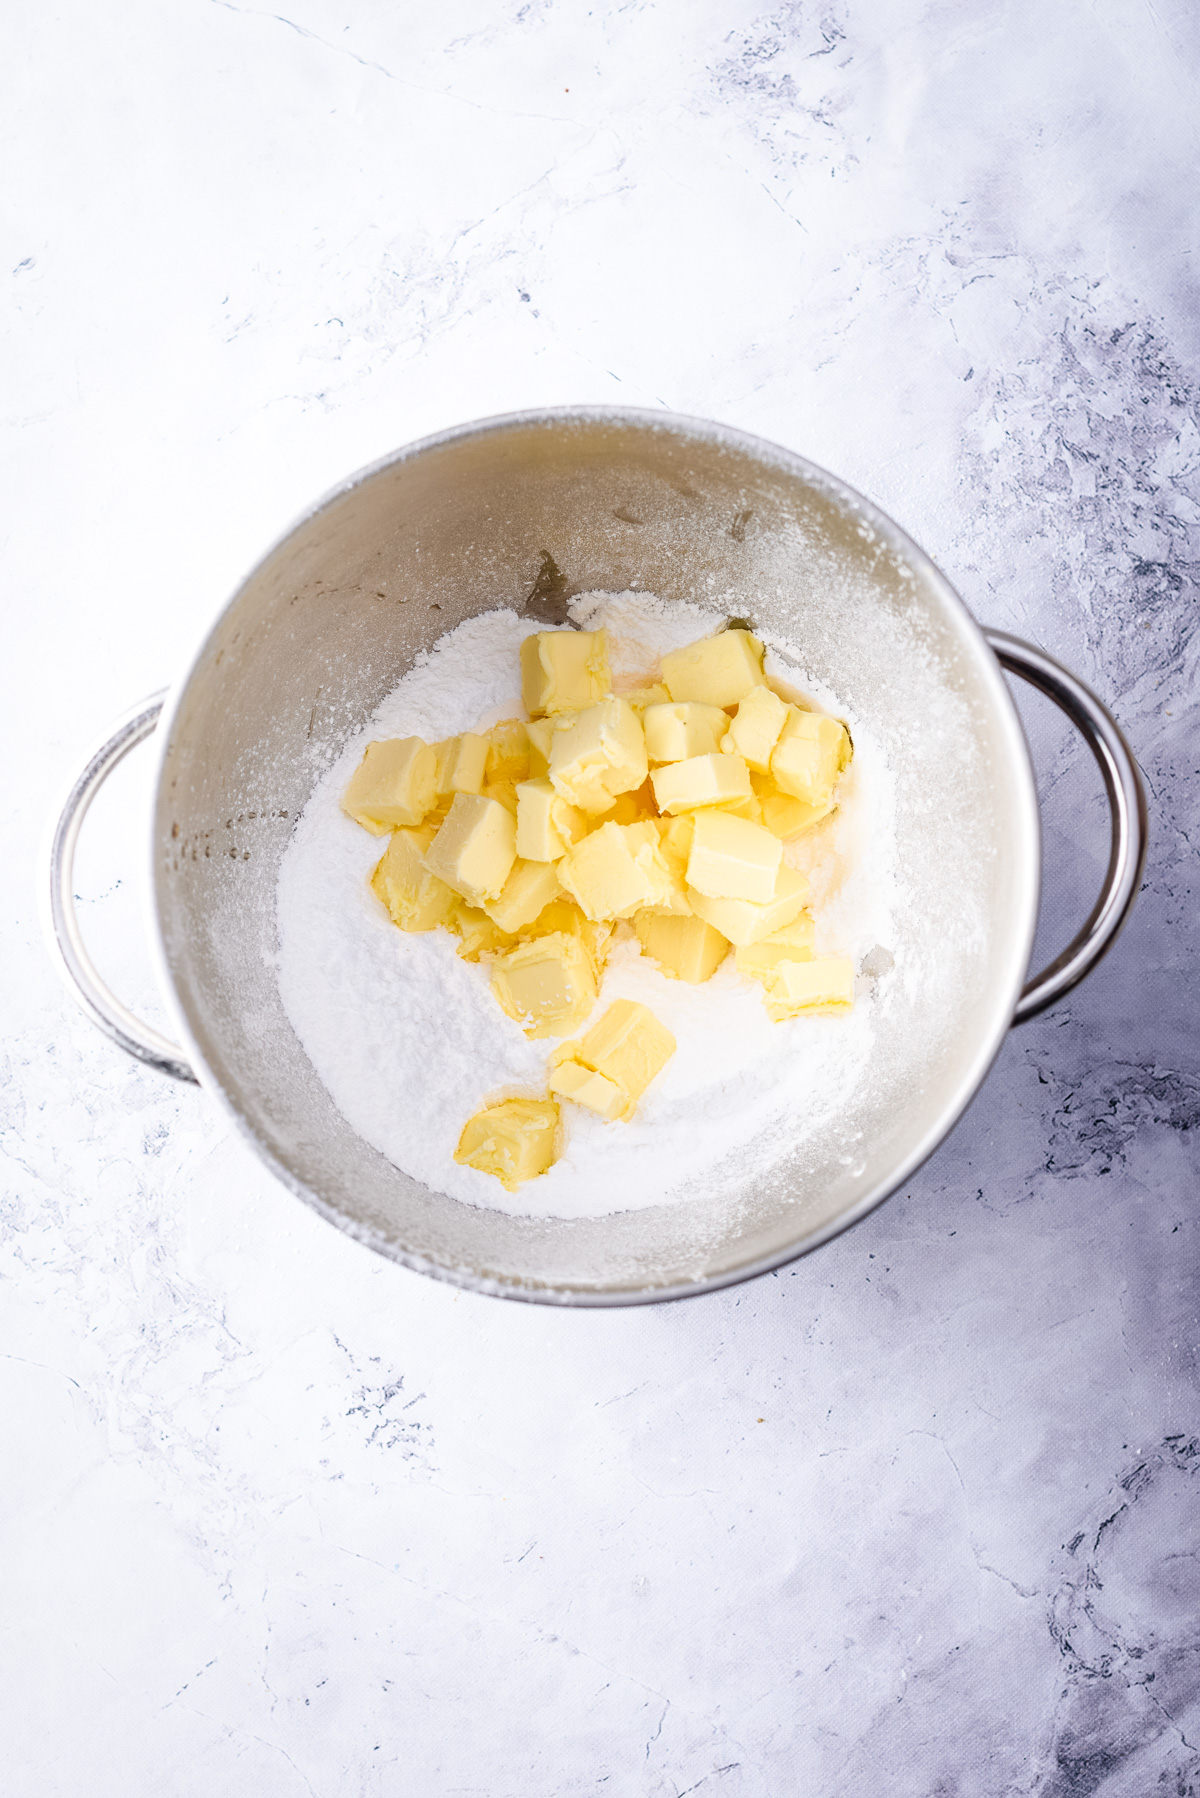
Cut your butter into small cubes.
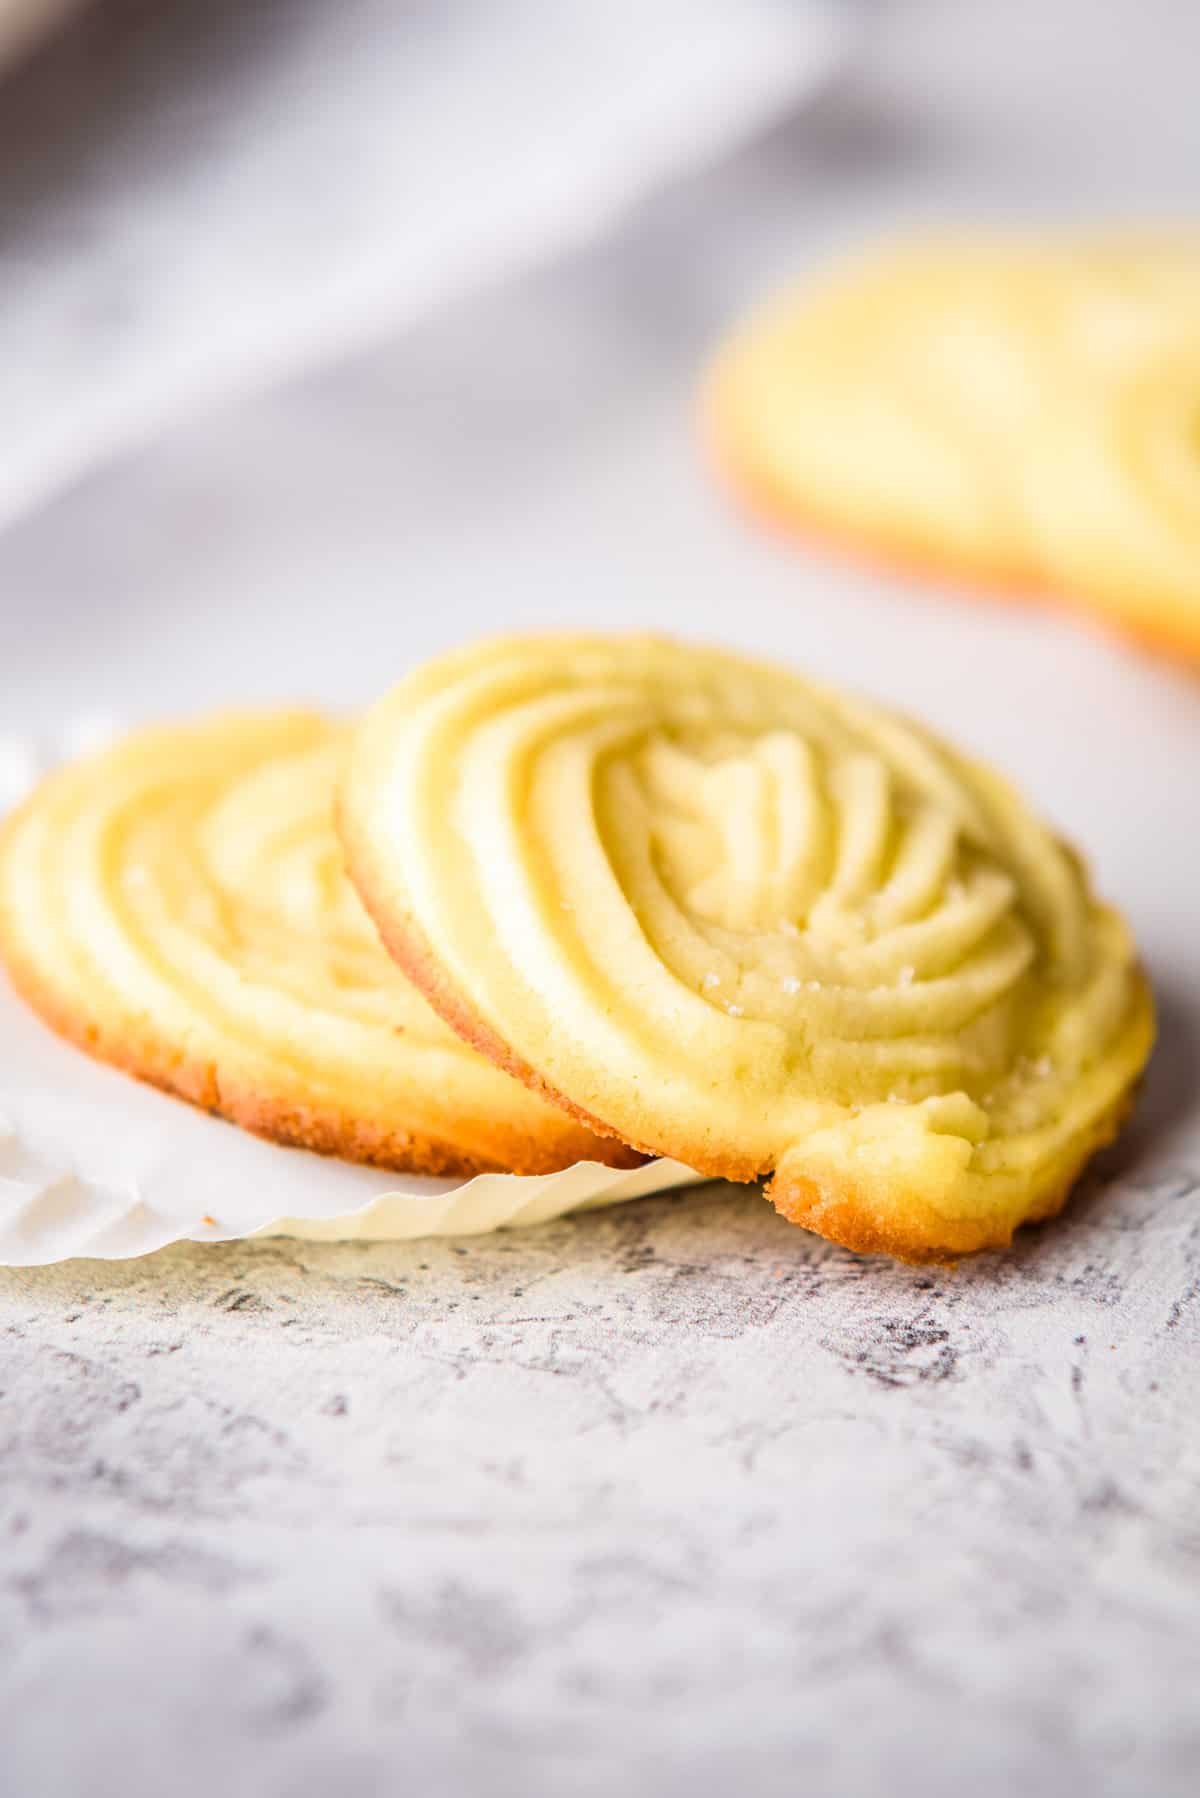
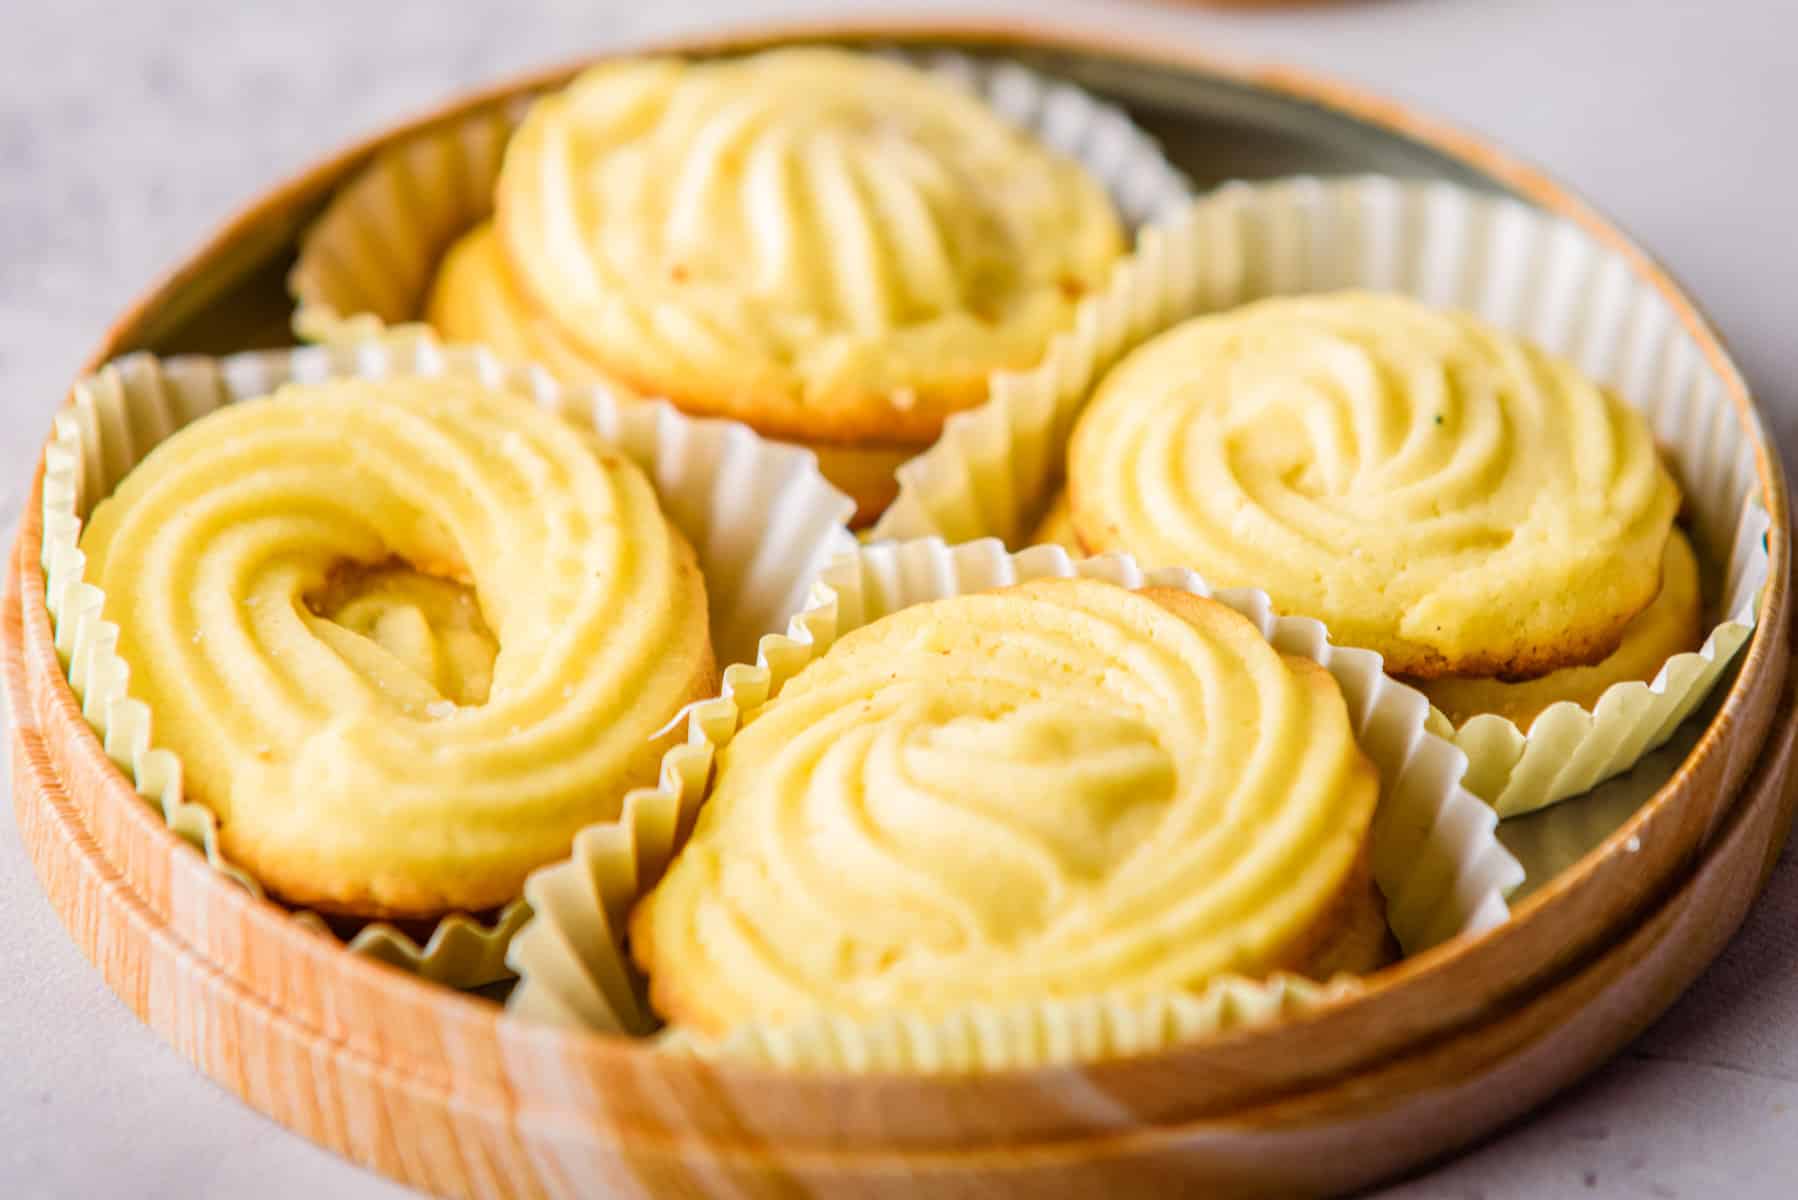
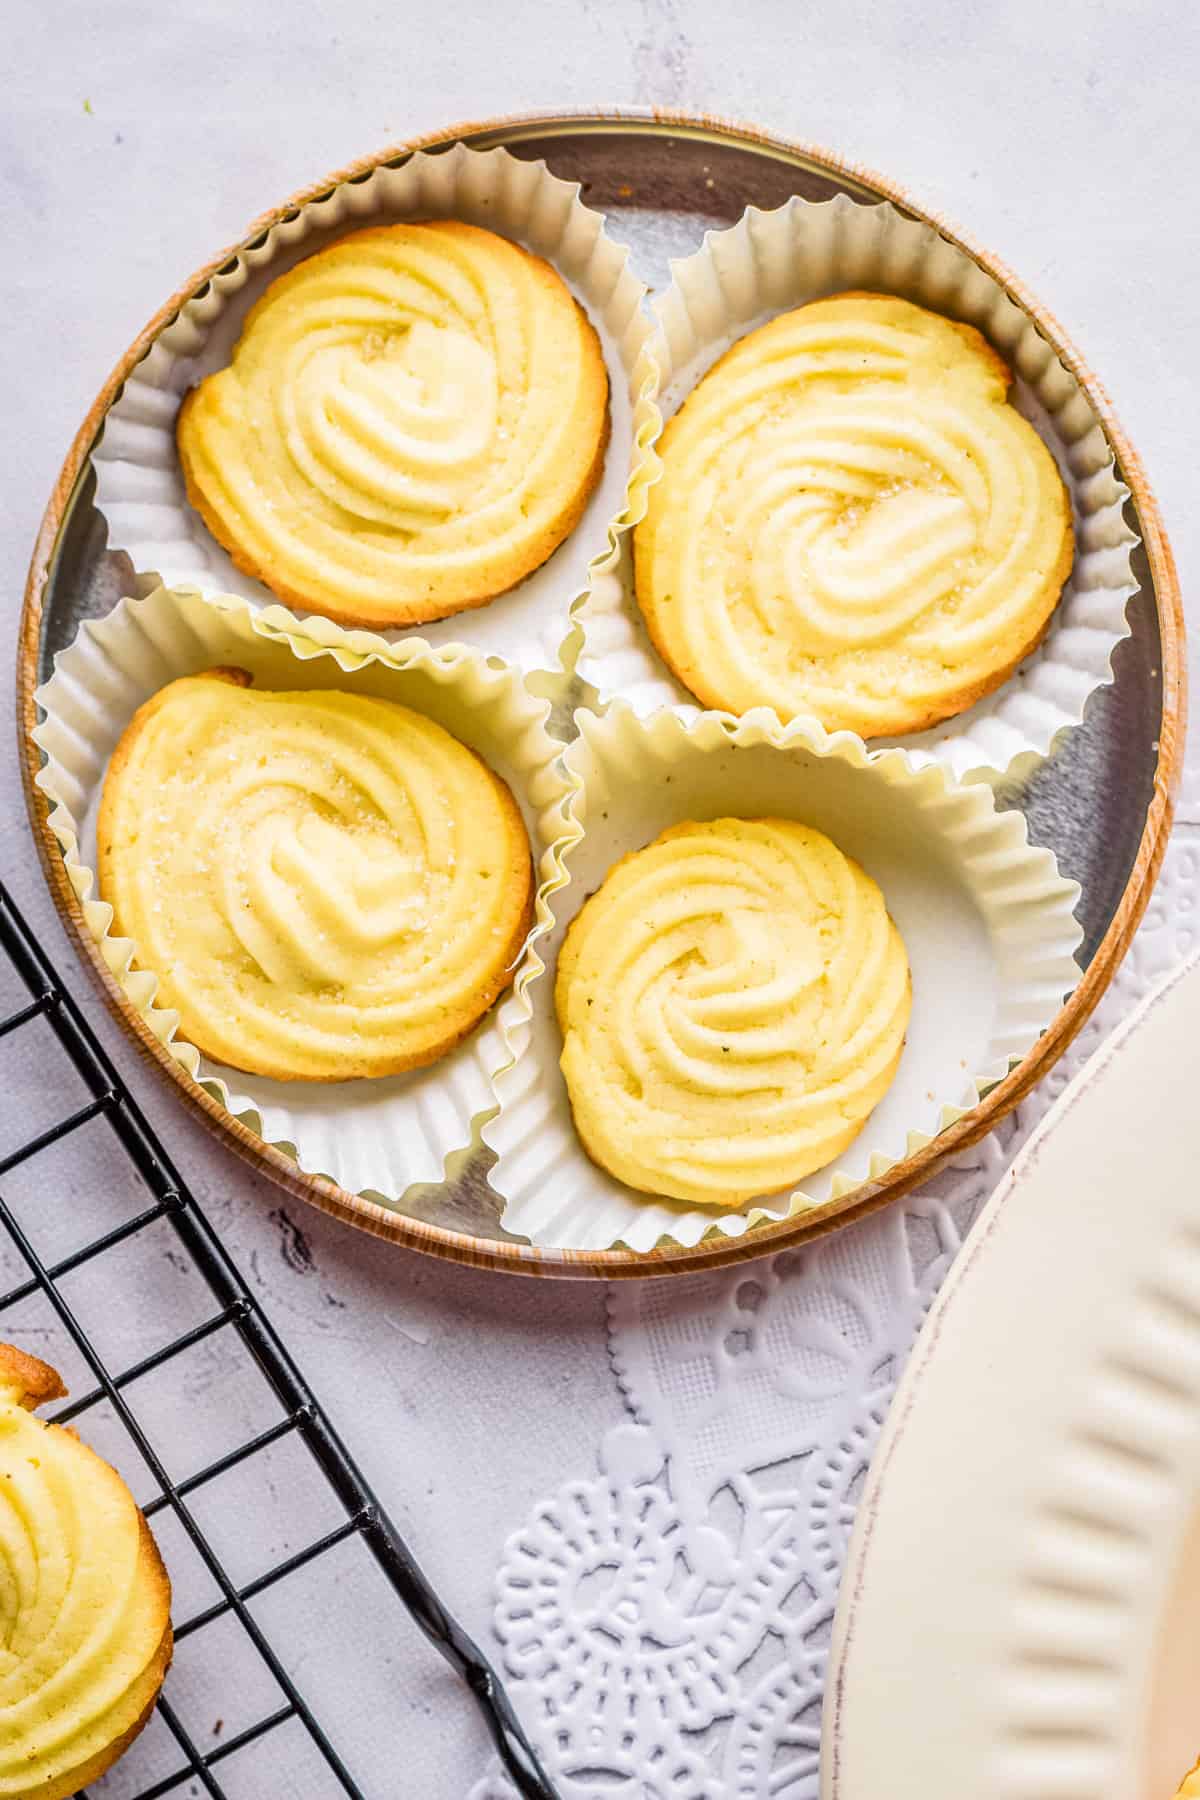
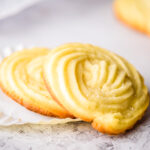
They’re buttery and delightful. Danish butter cookies, as the name suggests, are buttery! They’re also delightful, crispy, and melt-in-your-mouth good. If you’re a fan of shortbread cookies, then you’ll definitely enjoy these. They make amazing gifts. Danish butter cookies are always a welcome treat. You can wrap them up in themed bags, or delightful cookie boxes or tins! They’re perfect for any occasion. They’re not just for gifting: whether you’re hosting a dinner party or want to have a delicious treat on hand, Danish butter cookies are always a hit!
Love simple cookies? Check out my almond flour peanut butter cookies, nutella cookies, and yellow cake mix cookies!
Notes and Variations
Add mix-ins to the cookies. You can replace the vanilla extract with vanilla bean paste in an equivalent amount to add vanilla flecks, or zest some lemon or orange into the cookie dough to get a citrusy burst! Substitute all purpose flour. If you’re out of all-purpose flour, cake flour is a decent substitute since it creates a similar texture when baked! If you want to go gluten-free, you can use a 1:1 ratio gluten-free baking mix. Experiment with toppings. The traditional way to eat these treats is by dusting the topmost layer in powdered sugar but if that’s not your style then there are plenty more options (e.g., dipped in chocolate or hazelnut spread, sauces drizzled over it, sprinkles on top, etc.) The options are limitless!
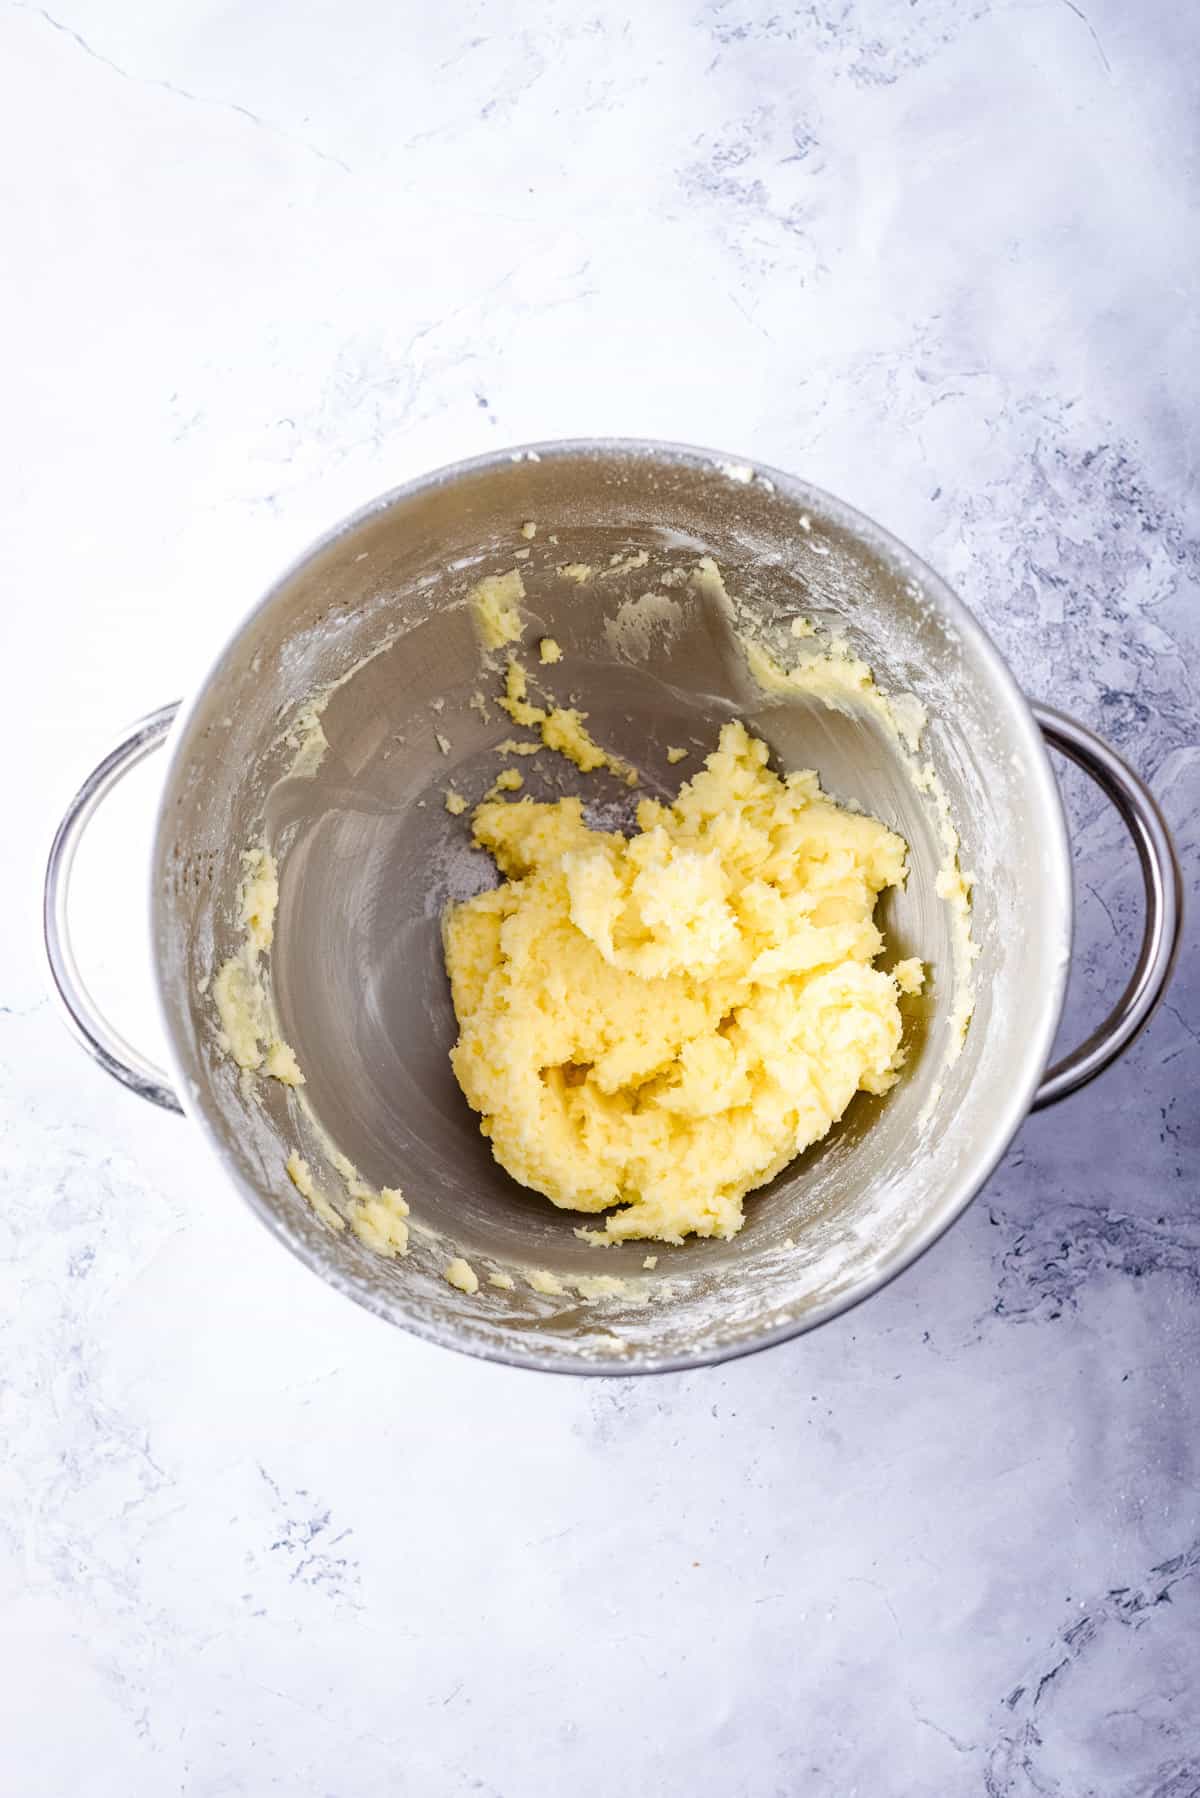
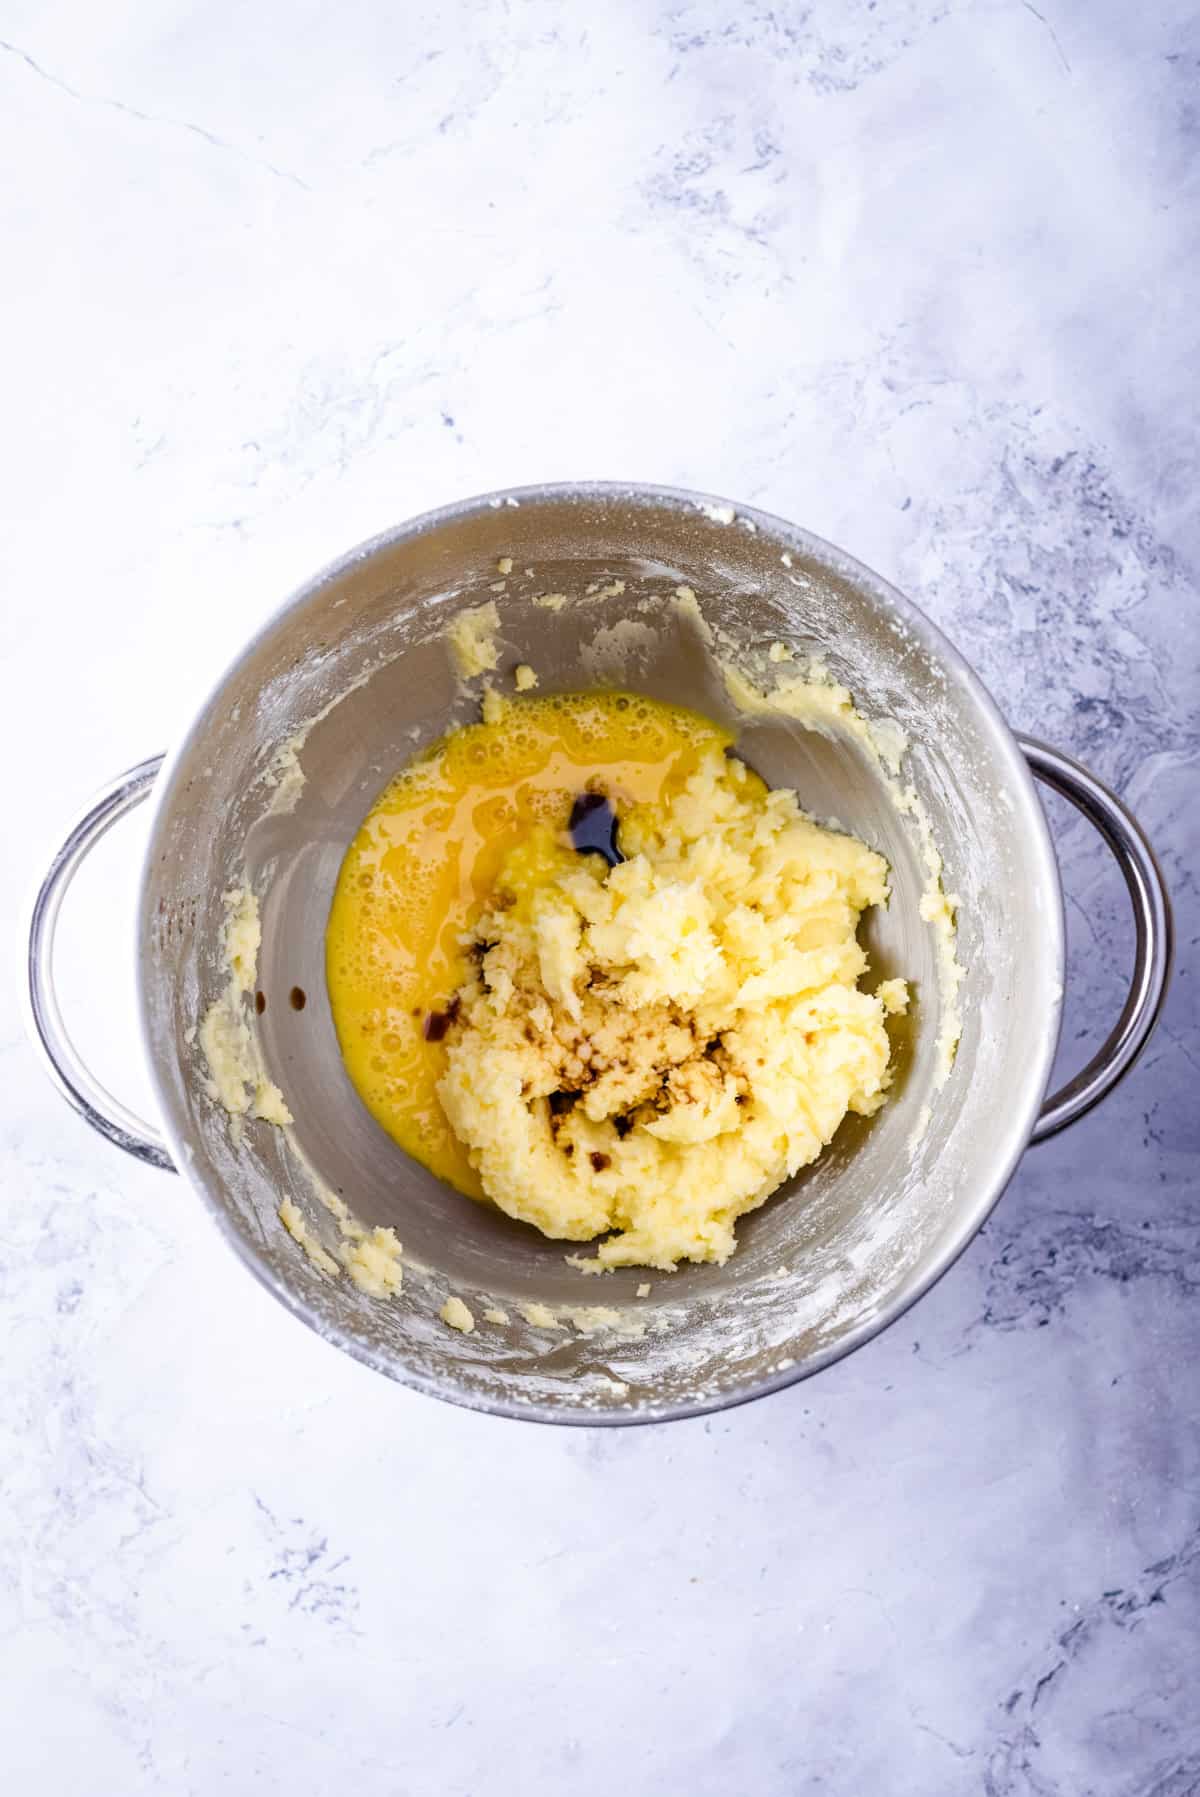
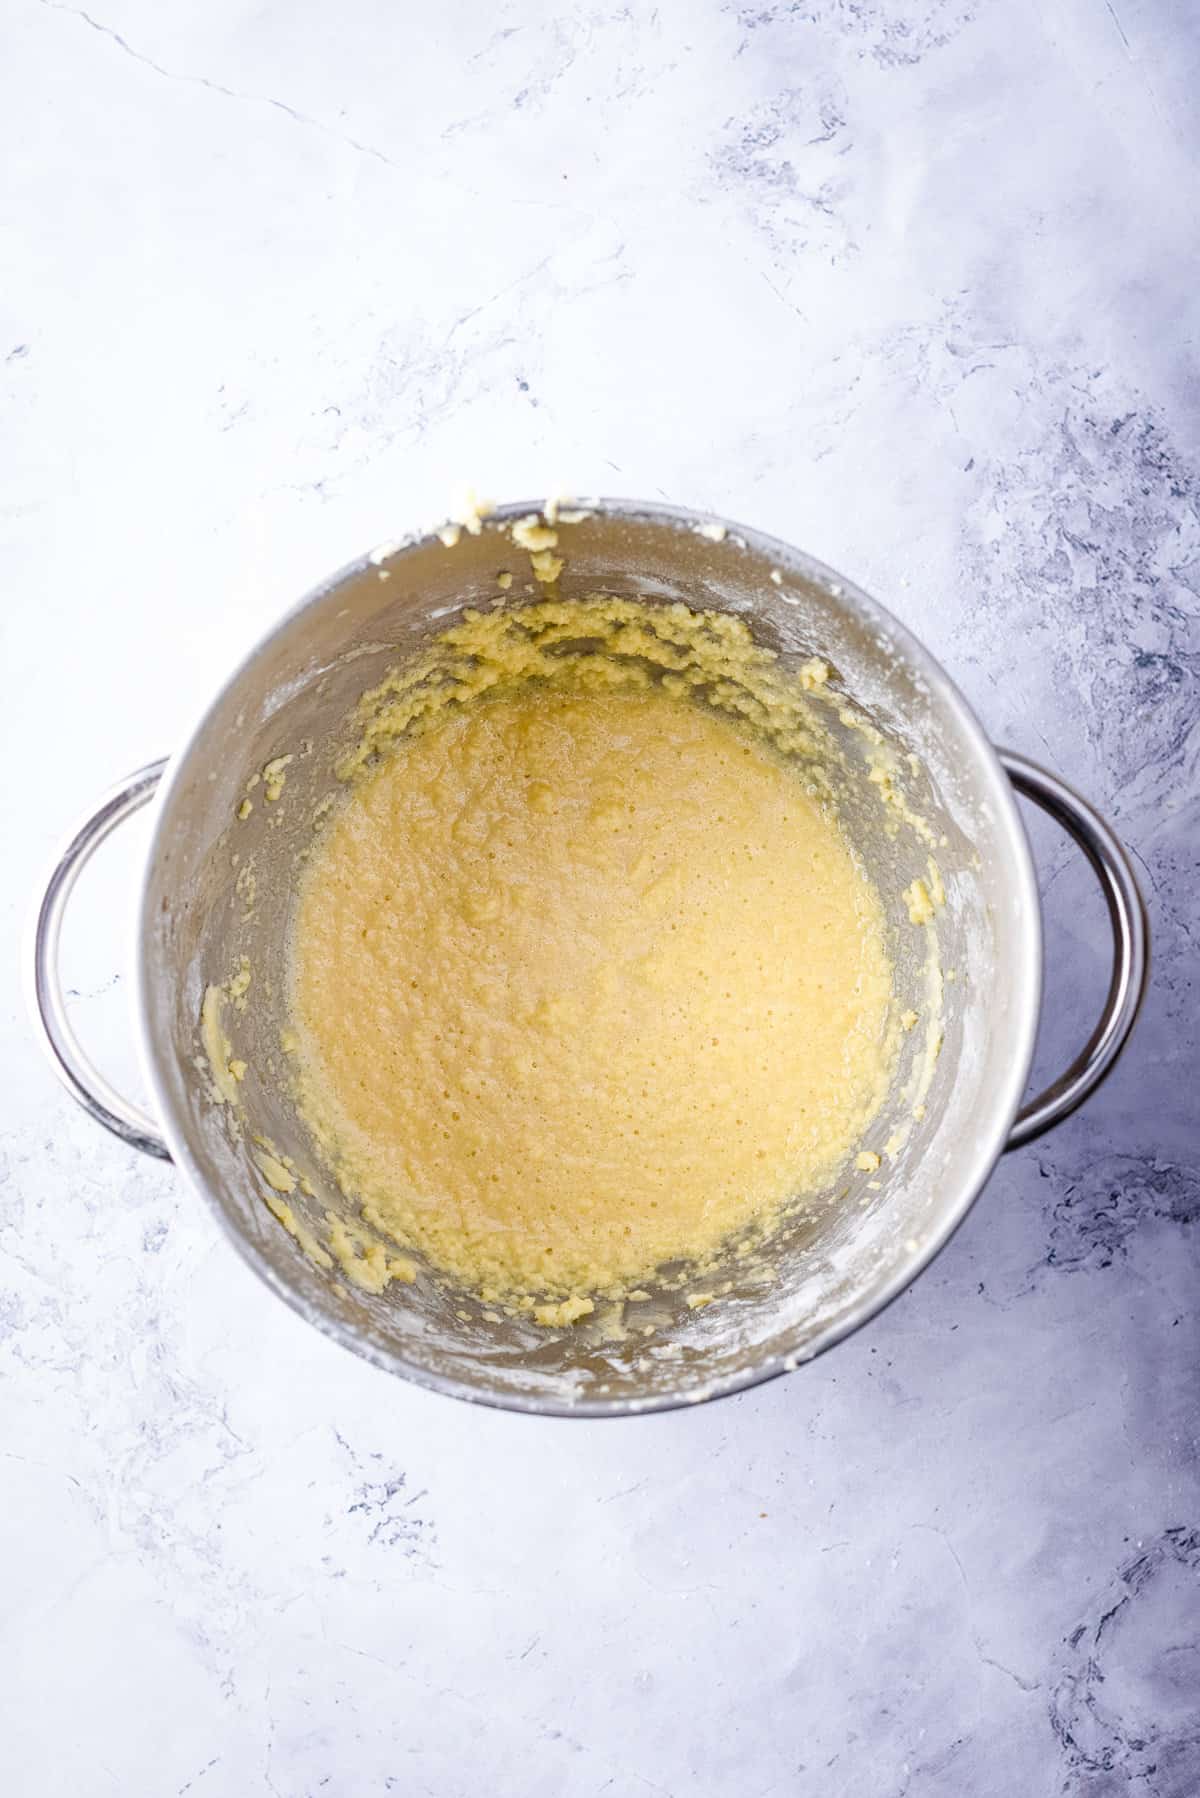
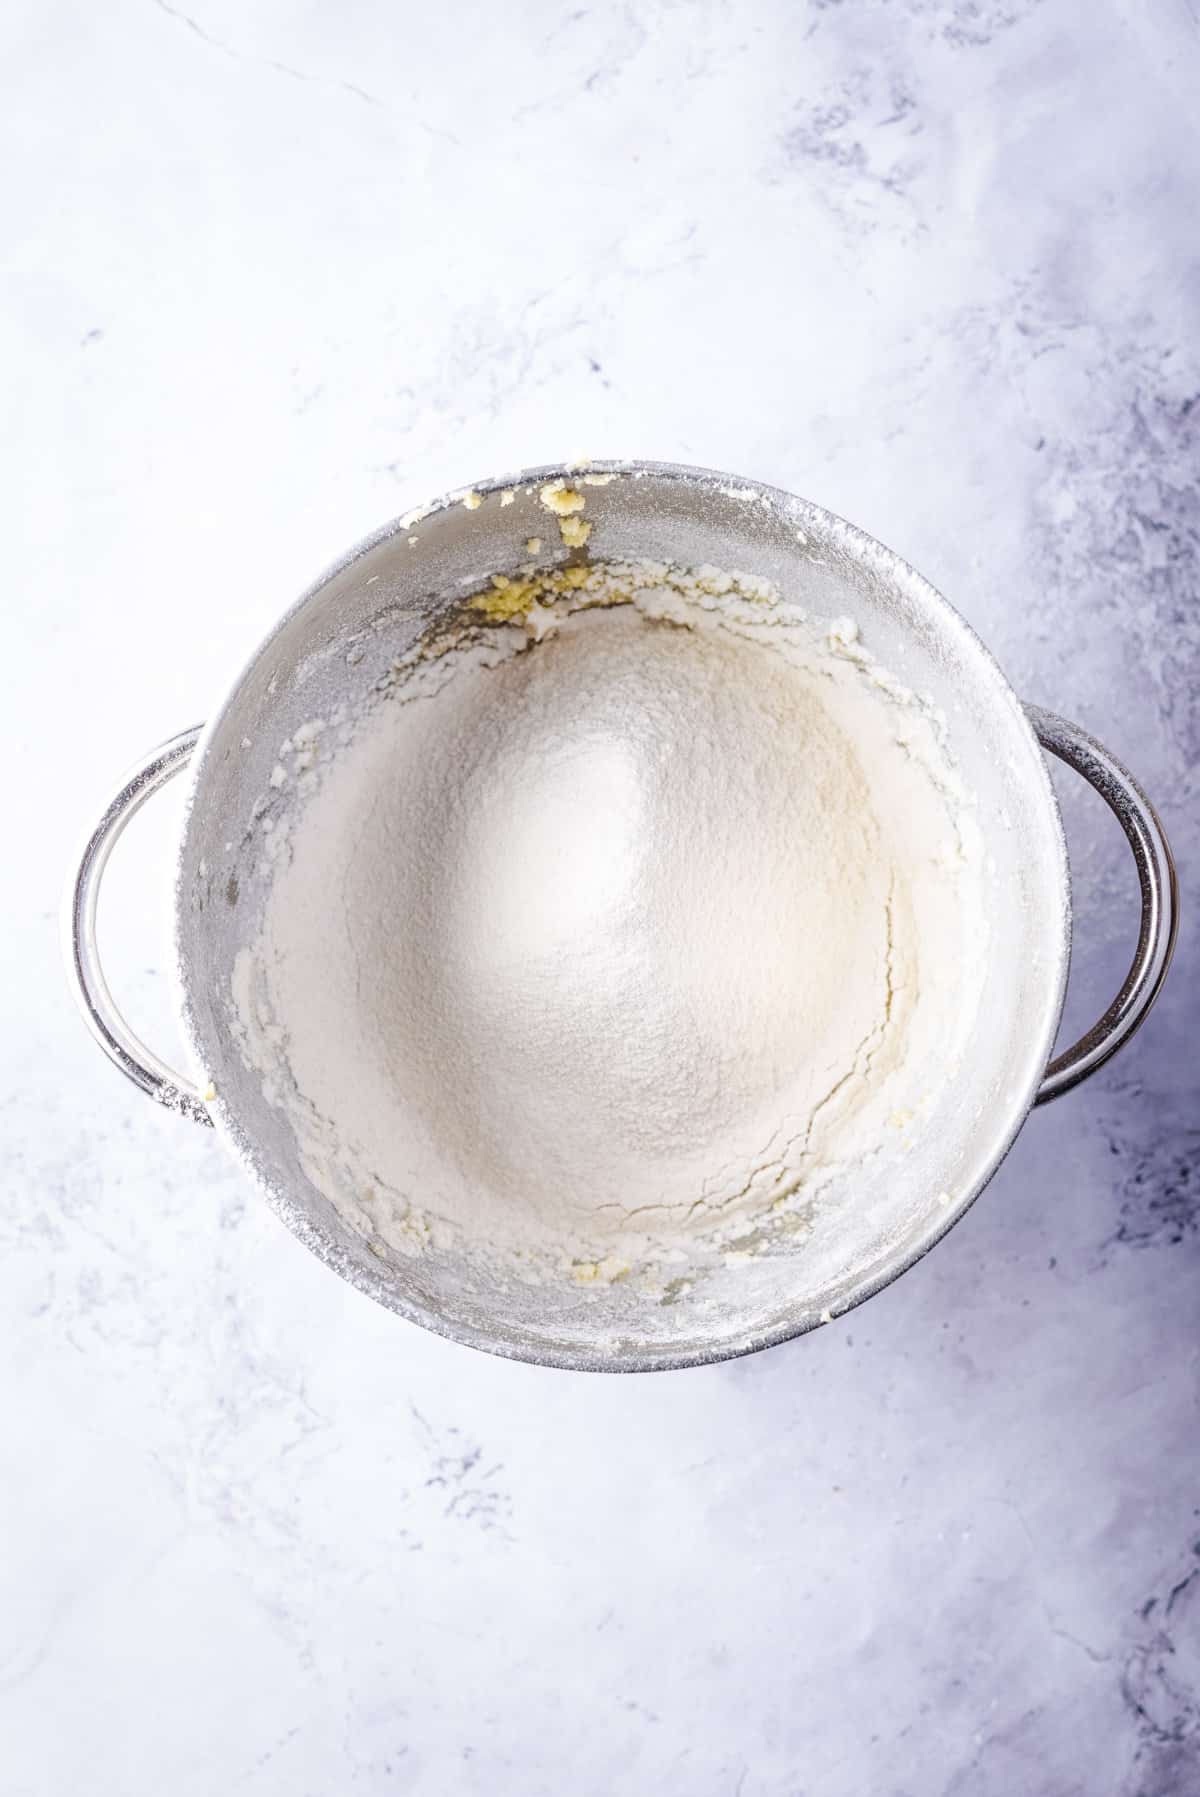
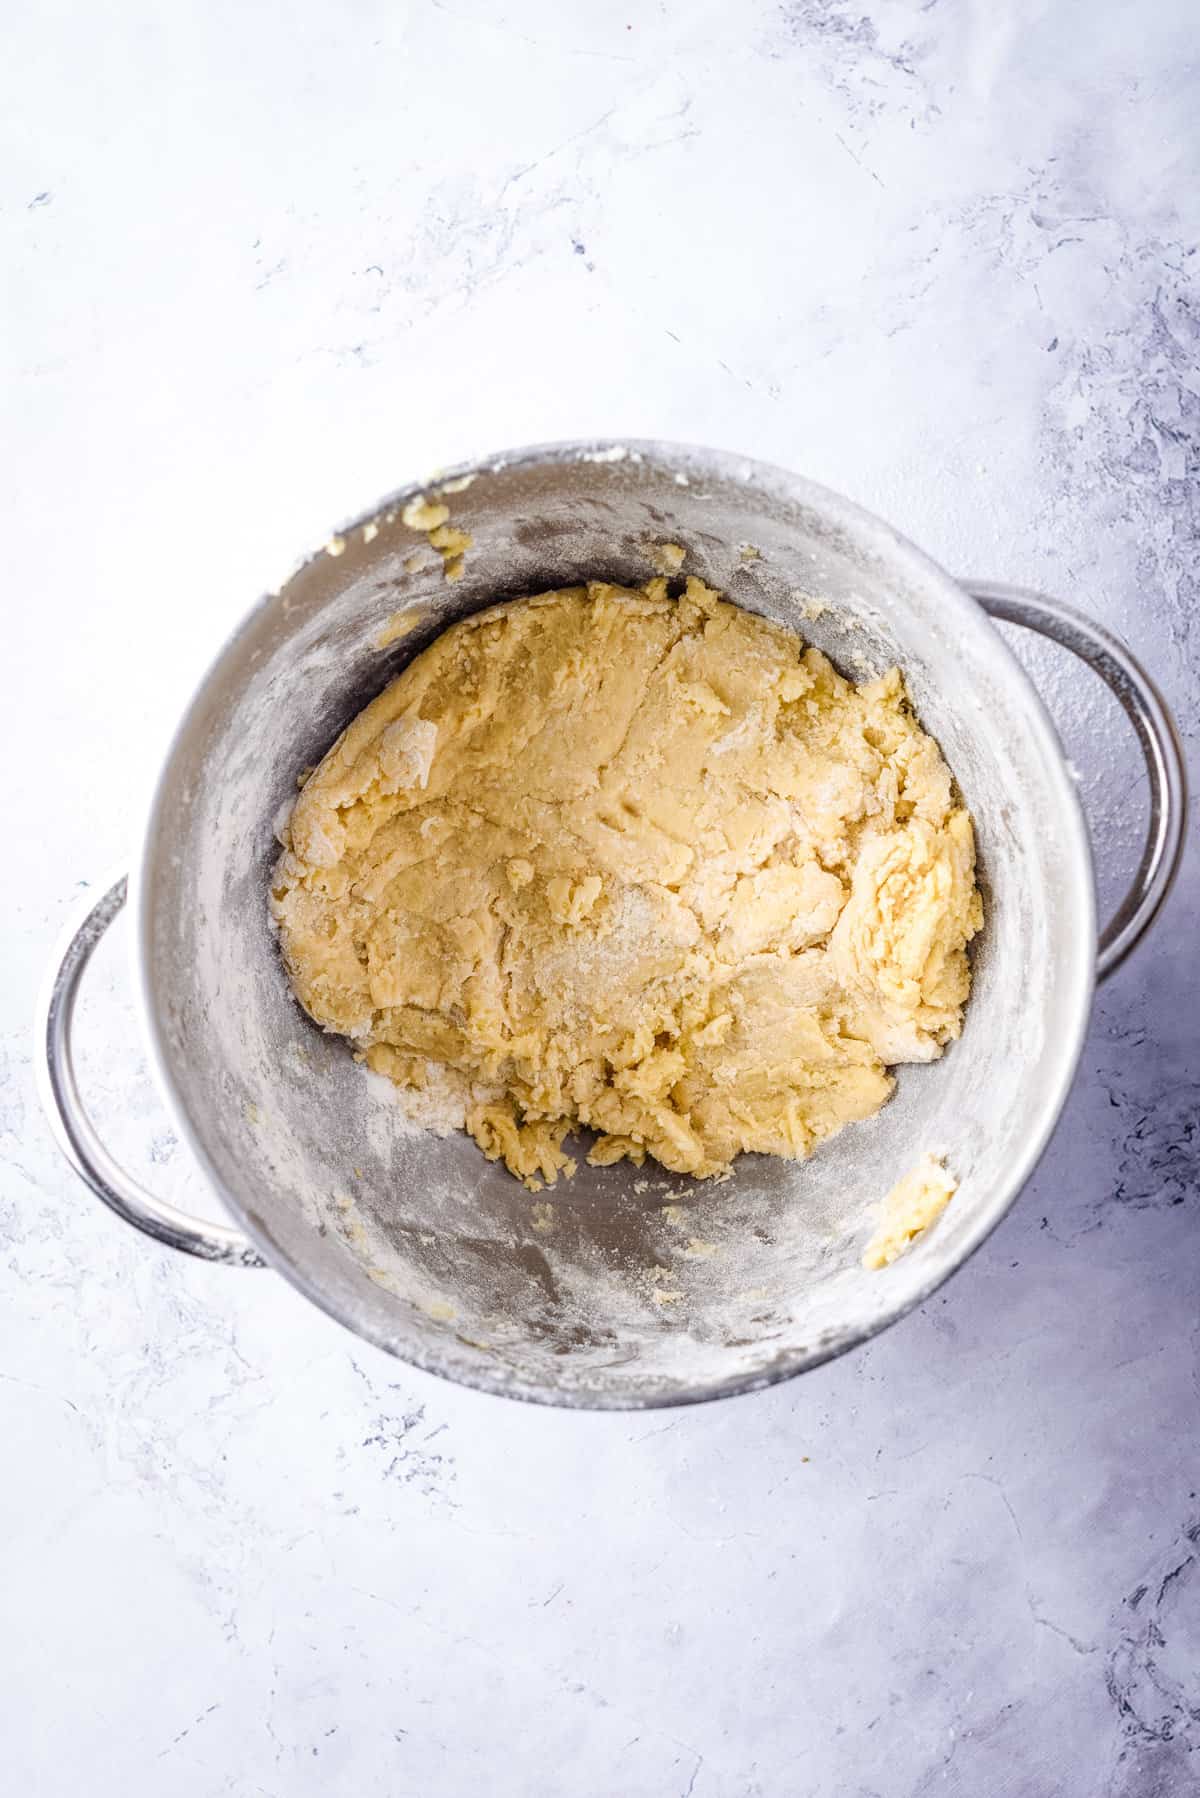
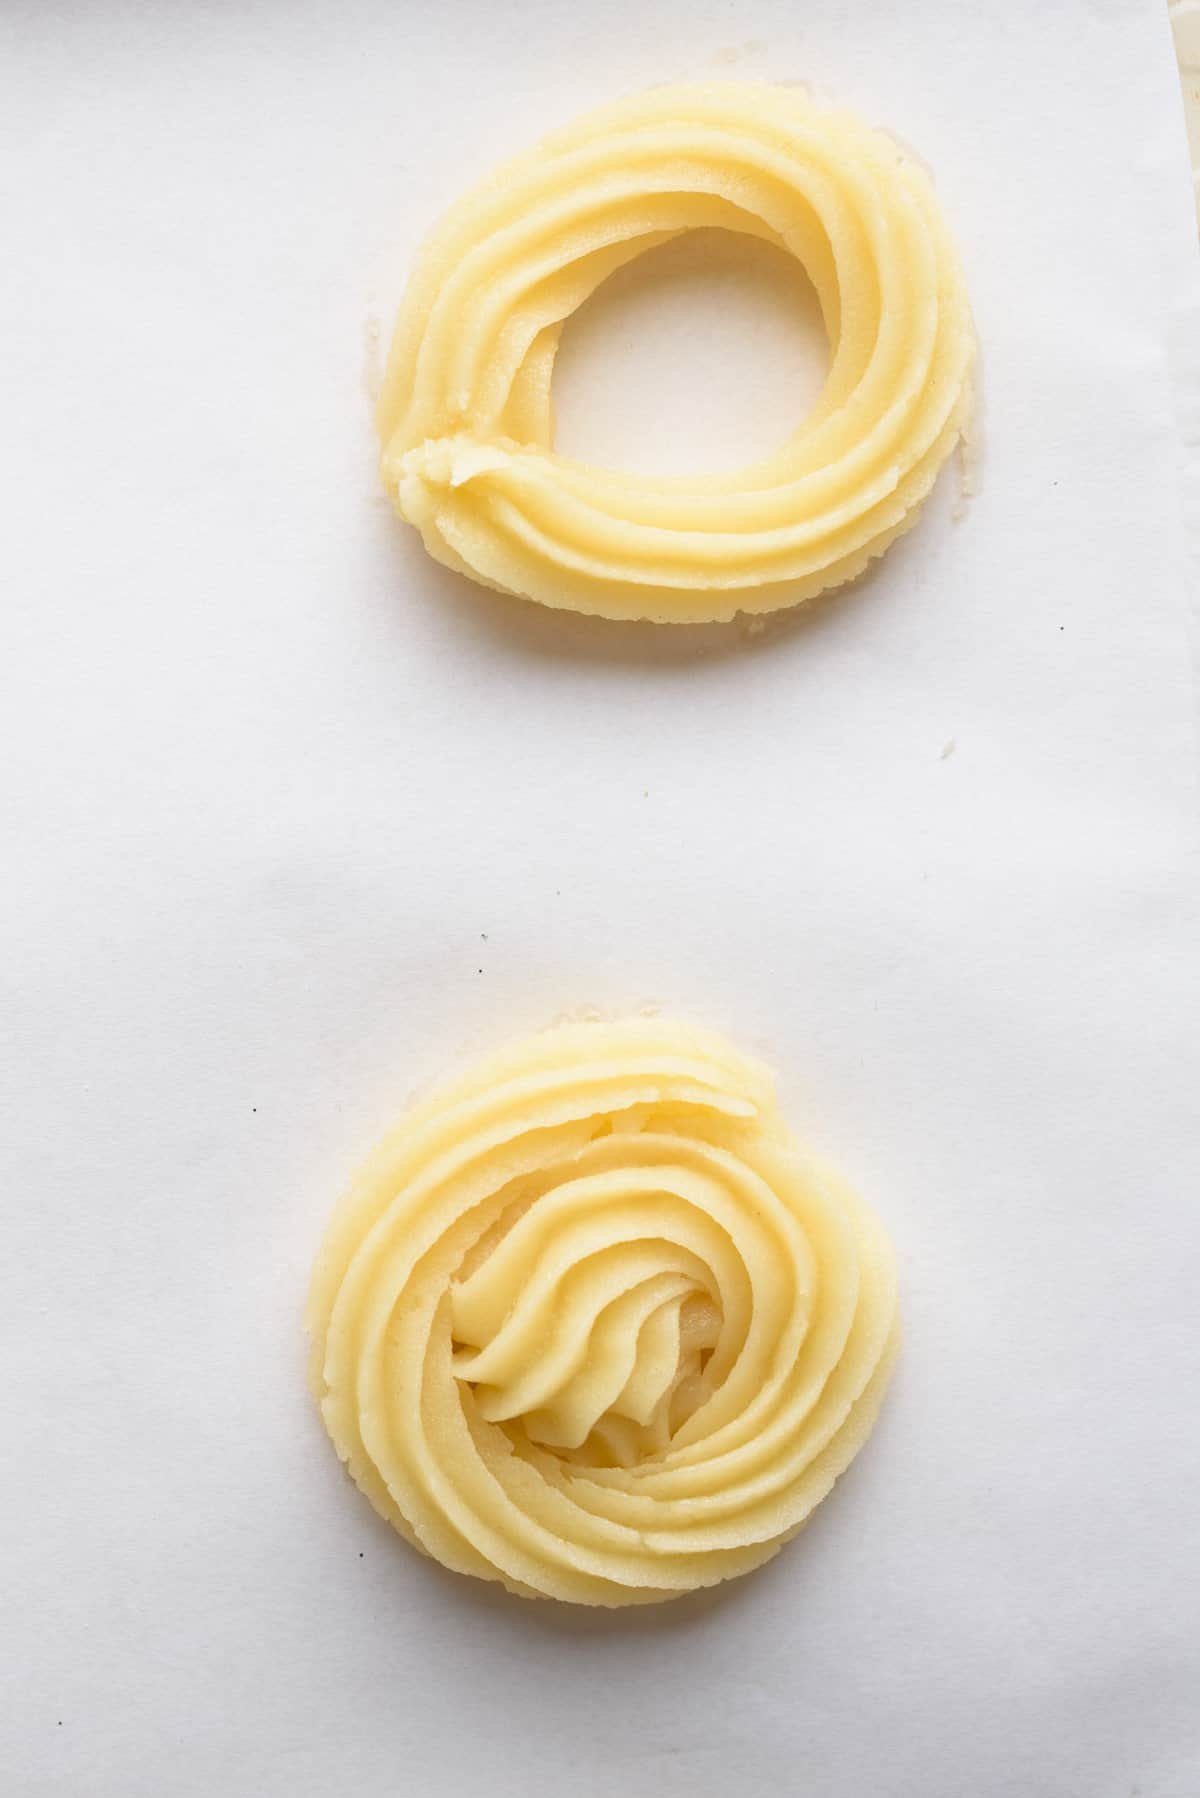
Preheat the oven to 350°F. Feel the dough and ensure that it’s smooth, and if not, add a bit of milk to ensure that it’s the right texture. Start with 1-2 tablespoons and add more as needed. Transfer the dough to a piping bag. In a stand mixer bowl, cream the butter and sugar at a medium speed until both ingredients are fully integrated. It should look a bit lighter in color and fluffy. Don’t over-cream the mixture, but fluffier the better! This took me 6 minutes.
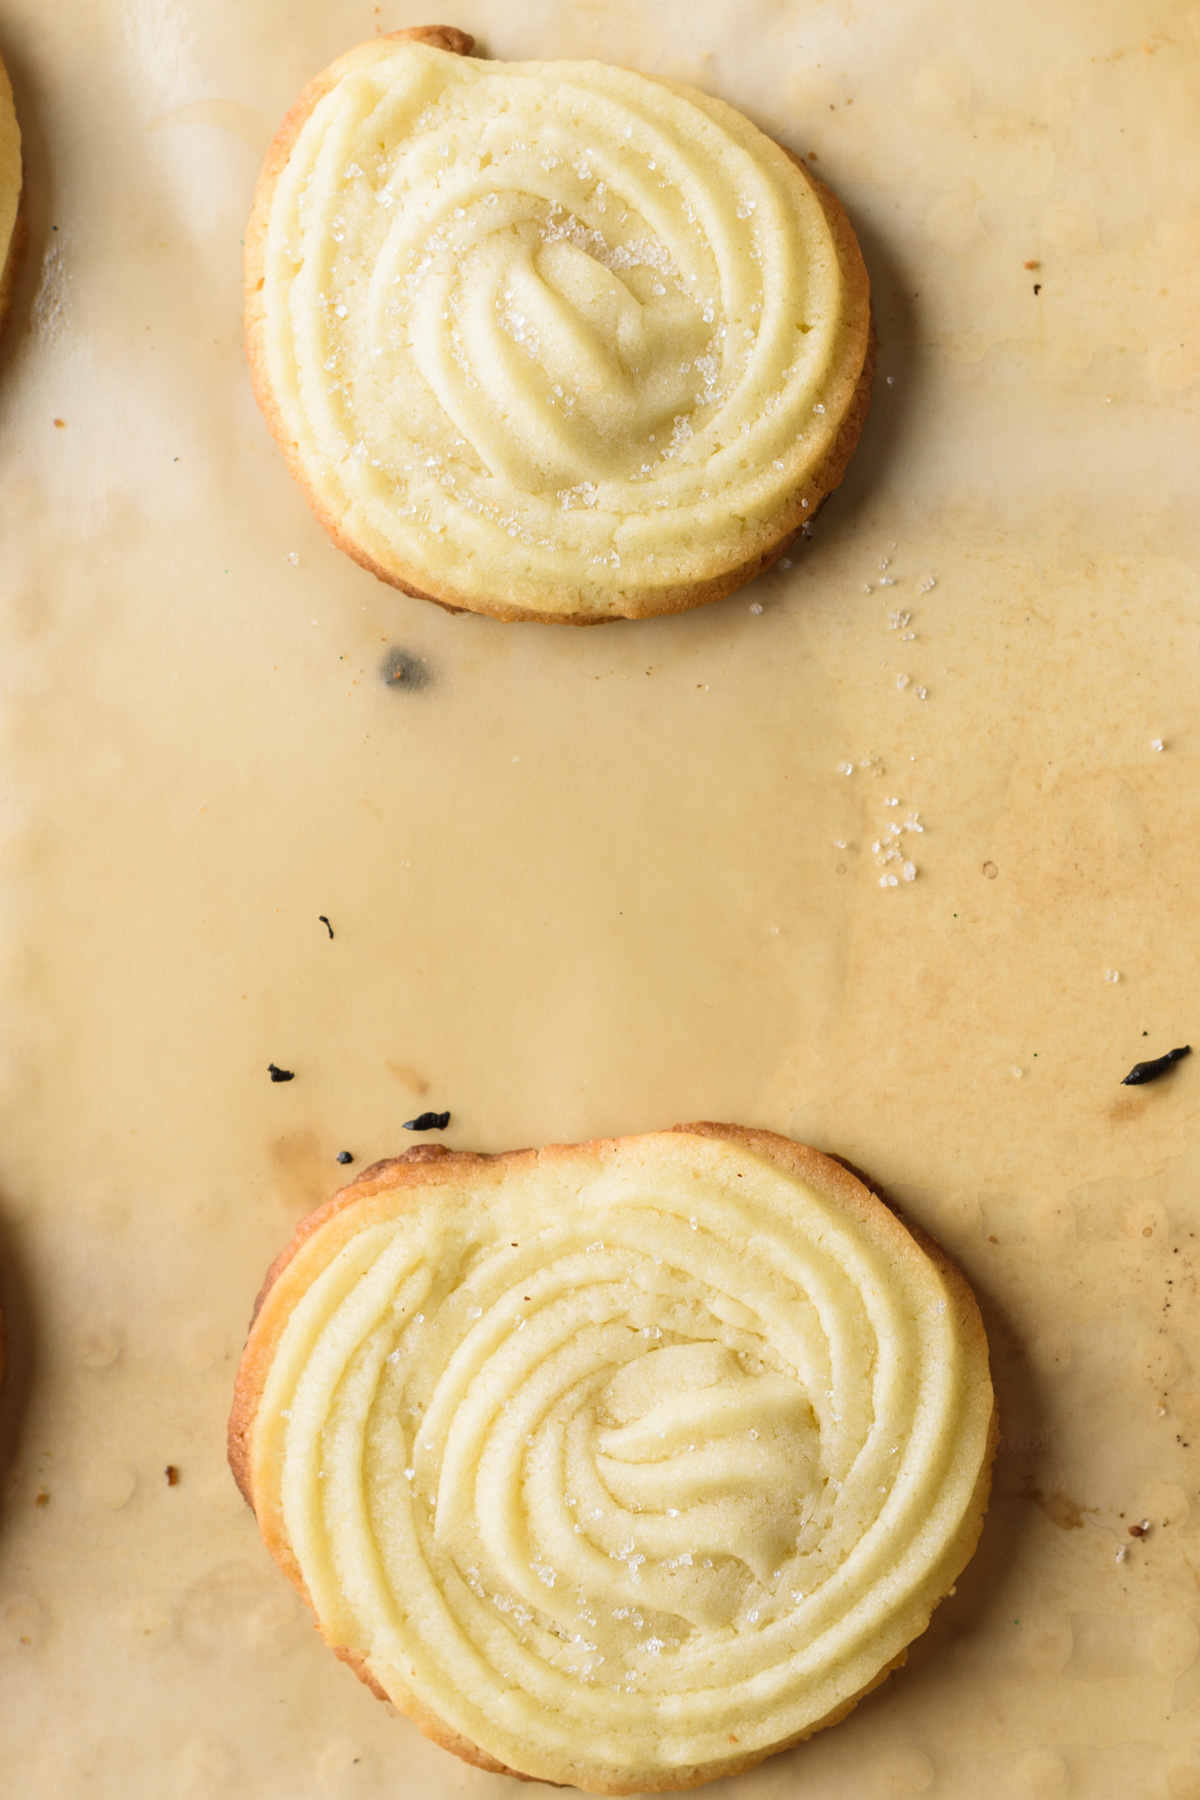
Use high-quality European-style butter: Its lower water content really brings out that rich, creamy texture and adds depth, which makes a noticeable difference. Softened doesn’t mean melted. Aim for room temperature where it’s slightly cool to the touch but leaves an indent if pressed. Too warm, and your cookies might spread more than you’d like. Cream butter and sugar for texture, not just sweetness. Don’t rush this step—creaming is key to achieving the fluffy texture that makes these cookies so delicate. Aim for a fluffy, pale mixture that’s fully blended before adding the egg. When you add the flour, go low and slow. Over-mixing can lead to tough cookies instead of the delicate crumb you’re after, so fold it in gently with a spatula. Chill before baking for best results: Piped cookies that get a quick chill in the fridge will hold their shape much better in the oven, giving you those picture-perfect designs. Bake on the middle rack for even color: This keeps them from browning too quickly on the bottom or edges. It’s key for achieving that pale center with golden edges. Cool completely for crispness: These cookies firm up as they cool, so let them sit for a few minutes on the baking sheet before transferring them to a wire rack. This prevents breaking and enhances the texture.
If you tried this recipe, don’t forget to comment and rate! ⭐⭐⭐⭐⭐ Refrigerate the piped cookies for 20 minutes before baking. This will allow it to settle into its shape and prevent excess spreading when you bake it. The longer the better, so you can even refrigerate up to 40 minutes. These Danish butter cookies can be stored in an airtight container at room temperature for up to a week or frozen for up to 3 months. Store in an airtight tin with a layer of parchment between layers: They’ll stay crisp this way, and if you’re giving them as gifts, they’ll stay fresh longer!
Holiday Butter CookiesYellow Cake Mix CookiesAlmond Flour Peanut Butter CookiesStrawberry Shortcake Cookies3 Ingredient Nutella Cookies
📖 Recipe